Friday, December 25, 2015

Christmas Dinner Came With a Crown

One item definitely on my culinary bucket list is crown roast of pork, but it seemed daunting. But I made one today for Christmas dinner. I reviewed several recipes and decided to try one on Epicurious.com.

I visited the butcher at Publix and asked for a small roast. The smallest that could be made into a crown is seven pounds, quite a bit of meat, but absolutely beautiful.

Crown Roast of Pork with Apple Stuffing

For Stuffing:
6 slices firm white sandwich bread cut into 1 inch squares (I used sour dough)
6 Tbs unsalted butter
1/2 c finely chopped onions
1/2 c finely chopped celery
1 1/2 lbs tart apples (I used Granny Smith)
1/3 c sugar
1 tsp salt
Pinch of cinnamon
1/2 tsp black pepper
1 tsp fresh or 1/4 tsp dried sage
1 tsp fresh or 1/4 tsp dried thyme
1/4 tsp freshly grated nutmeg
2 Tbs chopped fresh chives
1/4 c chopped parsley

Preheat oven to 350 degrees. Spread bread squares in single layer on baking pan and bake until dry and lightly toasted (approximate 15 minutes). Cook onion and celery in butter in a 12 inch heavy skillet over moderate heat until softened (4-5 minutes). Stir in apples, sugar, salt, pepper, sage, thyme, nutmeg and cinnamon. Reduce heat to low and cook until tender, about 15 minutes, stir in bread, parsley, and chives.

For Roast
1 crown roast of pork with ends frenched
1 1/2 tsp salt
1/2 tsp black pepper
1/3 lb sliced bacon*

Lower rack of oven to lower 1/3. Sprinkle roast inside and out with salt and pepper and place roast in roasting pan. Place stuffing in cavity and wrap bacon slices around outside of roast, securing with toothpicks.* Wrap tips with foil and place in oven for 2 1/4 to 2 3/4 hours. Transfer to carving board and allow to stand , loosely covered with foil.

For Sauce:
1 1/2 c water
1/4 cup apple jelly

Remove fat from roasting pan and add water to deglaze pan by boiling, stirring, and scraping. Pour through fine mesh sieve and return to pan. Add jelly and simmer until jelly is melted.

Remove all foil from roast and carve into chops by cutting between ribs.

* I forgot to use the bacon.

Despite my mistake, the roast was very tasty and the stuffing was divine. I served it with glazed sweet potatoes (a recipe from the Food Network siteby the Neelys) and green beans almondine.
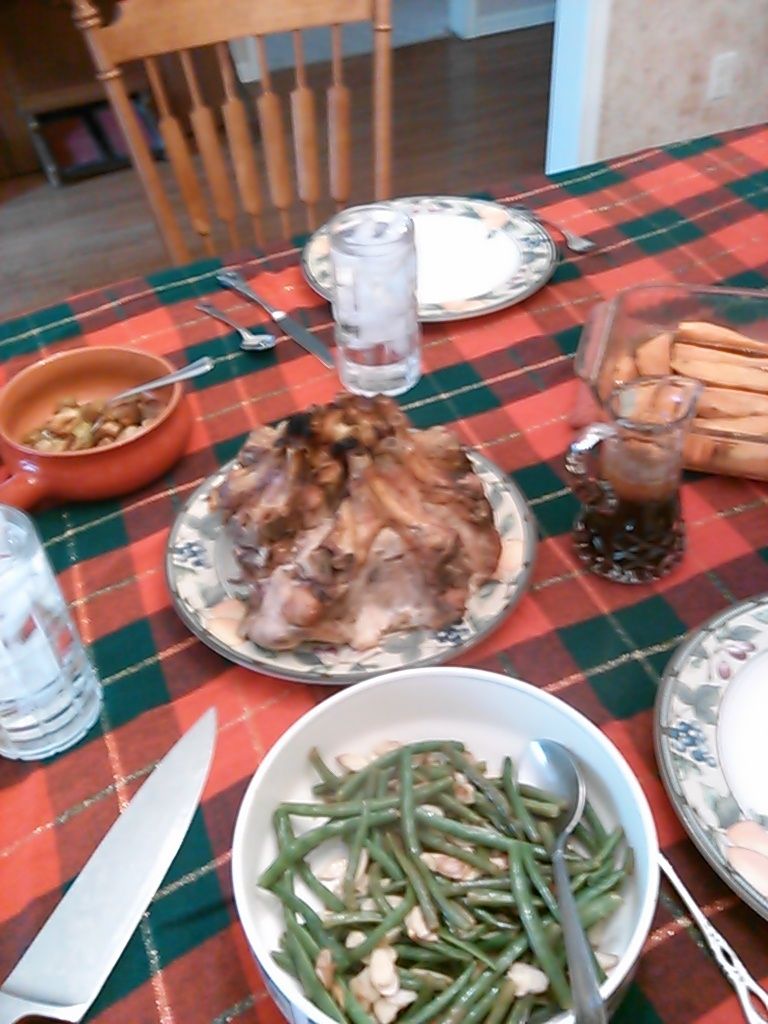
 photo IMG_20151225_142903_471_zpseh0bwutx.jpg

I also served a deep dish apple pie for dessert.
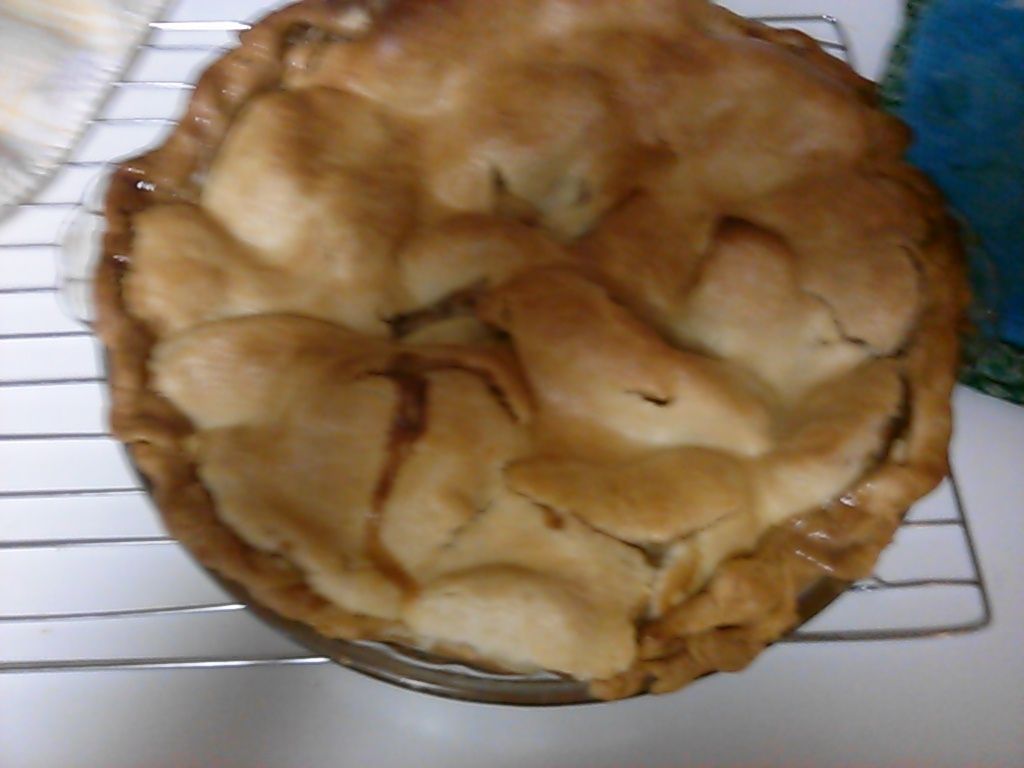
 photo IMG_20151225_152338_883_zpsamfrioha.jpg

Tuesday, December 15, 2015

This One Should Come With A Warning

Do you need a little something to take to a party this holiday season? This is great! It is easy, fast, and dangerously delicious. Do not make it and keep it at home. You will not be able to stop. You'll make yourself sick. You'll get fat. You'll never want to leave your couch. Just. Don't. Tempt. Fate.

I made a double recipe today. I have plans. I have cookie tins to fill. I must be good. But I know that I have a large container of these in kitchen and I can hear them calling.

White Chocolate Cinnamon Pretzel Squares

Ingredients:
1 bag of pretzels (16-18 oz) I used Synder's of Hanover squares
2/3 cup oil
1/3 cup sugar
1 ½ teaspoon cinnamon
½ cup cinnamon sugar for sprinkling
1 cup white chocolate chips

Directions:
1. Whisk together oil, sugar, and cinnamon.
2. Pour pretzels into a microwave safe bowl and pour oil mixture in. Stir until coated.
3. Microwave for 1 minute, remove and stir. Microwave 45 seconds more.
4. Spread pretzels evenly onto two cookie sheets covered in parchment paper.
5. While still warm, sprinkle cinnamon sugar generously.
6. Melt white chocolate (on low heat, be careful not to burn) and drizzle over cooled pretzels.
7. Store in an airtight container.

You can taste the butter of the pretzels underneath the salt, then the cinnamon and sugar, and then, finally the white chocolate.

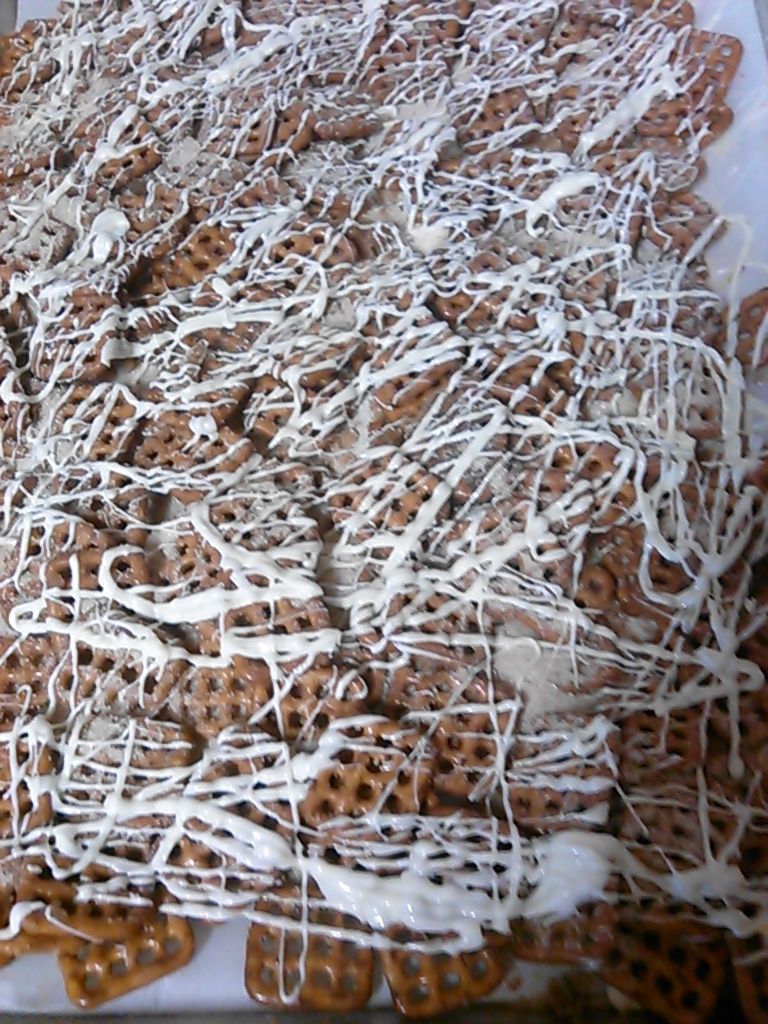
Here they are from a distance...
 photo IMG_20151215_150244_887_zpsokfkv8di.jpg

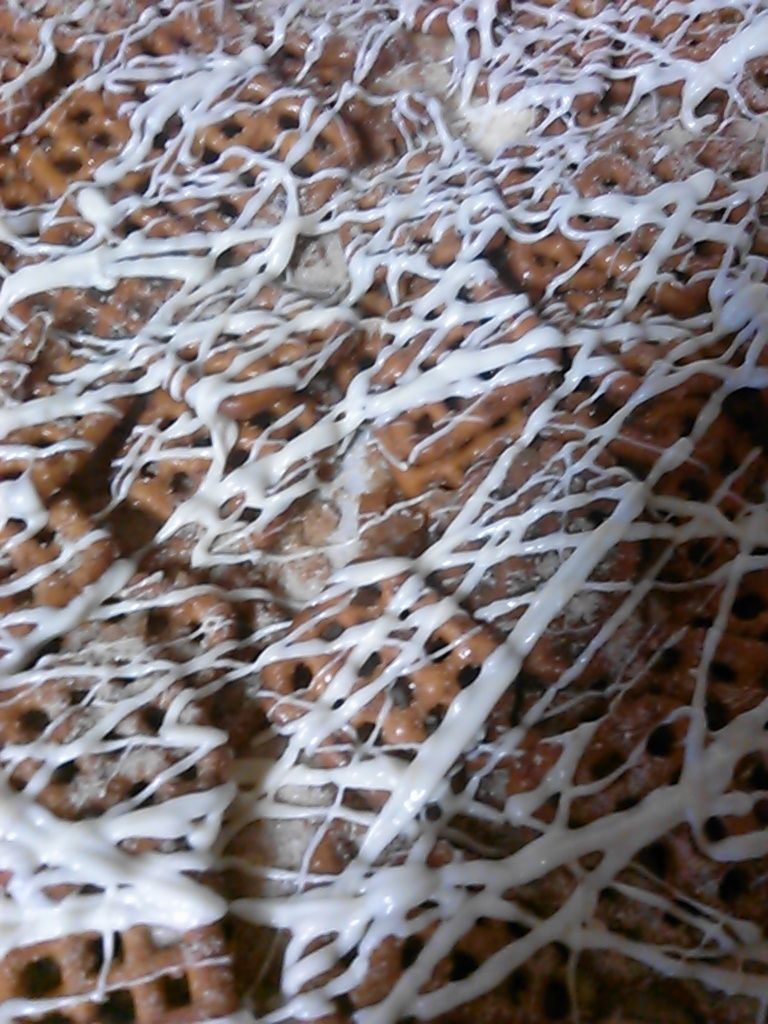
And here they are, up close and personal.
 photo IMG_20151215_150300_595_zps2ywgp3i9.jpg

Just a note...I found that the drizzling of the white chocolate went better using a fork than with a spoon.

Tuesday, December 1, 2015

The Baking Season Has Begun

I started my holiday baking today. Each year I promise myself that I will try something new and each year I return to my tried and true favorites. And today was no exception.

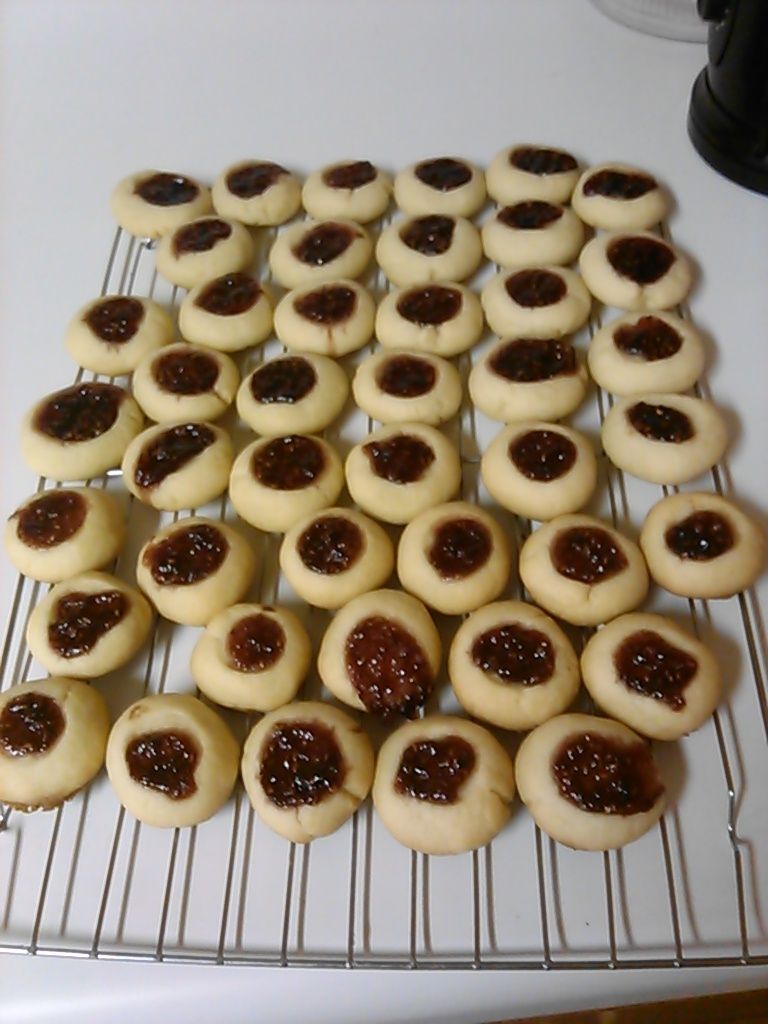
I made a batch of Paula Deen's Thumbprint cookies because I love them. Because they are not overly sweet. Because the recipe makes a lot of cookies.

Thumbprint Cookies


3/4 lb. butter (3 sticks), softened
1 c. sugar
2 egg yolks
3 3/4 c. flour
1/4 tsp. salt
1 tsp. vanilla
any tart preserves

Cream butter & sugar. Add egg yolks & blend. Sift flour & salt, then blend into the butter mixture. Add vanilla. Chill dough thoroughly.

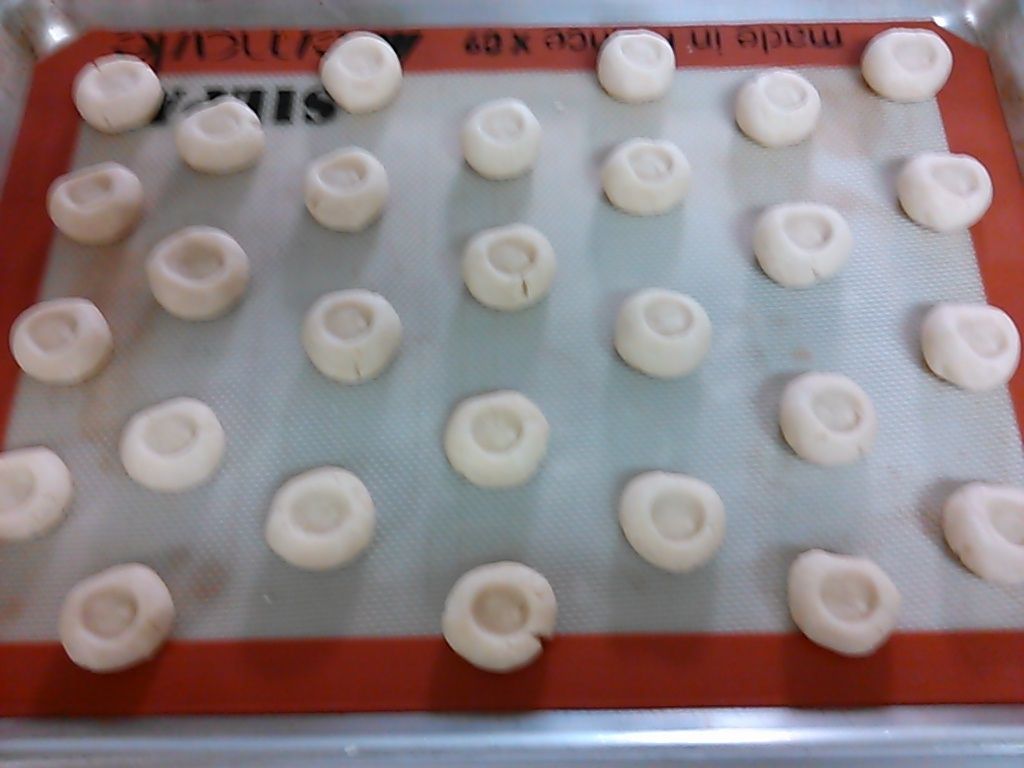
Preheat oven to 350. Shape dough into 1" balls. Place on ungreased cookie sheet. Make an indentation in each ball with thumb. Fill the depression with jam. (Jelly or pecan halves would also work). Bake 15 minutes or until lightly golden. Cool slightly before removing from sheet to rack.

Will keep well in a tightly closed container.

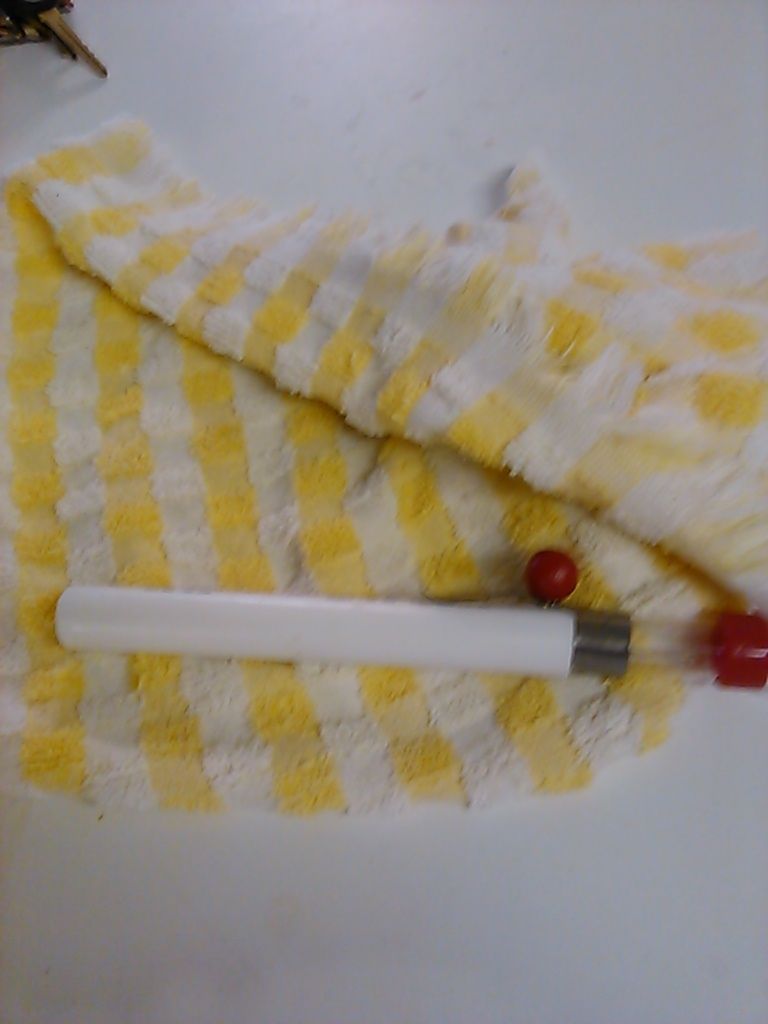
Now, I'm sure that the good folks of America's Test Kitchen would use a German engineered and machined stainless steel ruler to measure each ball of dough, but I used the tools that God gave me.  photo IMG_20151201_132610_423_zpsxjpxasvw.jpg I happen to know that the distance between the first and second knuckles of my left index finger is exactly one inch.

And instead of using my thumb to indent the dough, I used the cover of my candy thermometer.

 photo IMG_20151201_132532_017_zpsfzliw8sr.jpg

 photo IMG_20151201_132050_445_zpsx8q9hjct.jpg

I used raspberry jam, and I made a little less than 7 dozen.

 photo IMG_20151201_141338_264_zpson7nezor.jpg

After they cooled, I carefully packaged them in an air-tight container and placed them in the freezer for later.

Saturday, November 28, 2015

OMG!

Thanksgiving has come and gone, and so, too, the left-overs.

My sister hosted this year, so I had less to prepare and fewer left-overs. She asked me to make the cornbread dressing and a dessert. I threw in a fruit salad, because I was craving fruit. And I knew, without a doubt, that dessert had to be chocolate. How did I know? My chocoholic brother-in-law says that any dessert that is not chocolate is a waste of sugar.

I chose to make a dessert that had his name written all over it. Peanut Butter Fudge cake. Peanut. Butter. Fudge. Cake. What about doesn't sound good? In fact, this cake is so good, I never got a chance to take a picture. It was gone in a matter of minutes.

It's easy, it's moist, it's delicious.

PEANUT BUTTER FUDGE CAKE

Oven 350. Grease and flour a 13 x 9-inch cake pan.

Stir together in a bowl and set aside:
2 cups sugar
2 cups self rising flour

In a large saucepan, combine:
2 sticks butter (or 1 stick butter, 1 stick margarine)
1/4 cup cocoa powder
1 cup water
1/2 cup buttermilk
2 eggs, lightly beaten
Using a whisk and stirring constantly, heat the mixture over medium heat until the butter melts and the surface is covered with bubbles. Add, if desired:
1/2 cup chopped nuts, optional (I don't add them)

Then stir the sugar/flour mixture into the hot mixture until blended. Add:
1 teaspoon vanilla

Bake for about 25 minutes.

As soon as the cake comes out of the oven, cover the top with peanut butter. I use creamy but you can use crunchy. I like a fairly thick layer of peanut butter, so I use at least 1 cup....maybe more. I just put big blobs of peanut butter over the cake and let it melt for a minute or so and then spread it evenly. Let the it cool for about 30 minutes before frosting.

FROSTING
In a large saucepan, sitr together:

4 tbs butter
1/4 cup cocoa
6 Tablespoons buttermilk
Heat on medium heat till butter melts and mixture is covered with bubbles. Then stir in:

1 pound powdered sugar (sift if it looks lumpy)
1 teaspoon vanilla
1/2 cup nuts, optional (I don't use them)

Pour over cake and let sit for a few minutes to firm.

Leave the cake in the pan to serve and store.

Fix a big glass of cold milk and sit down with a piece. Close your eyes and savor the moment that the soft, fudgy, rich deliciousness hits your tongue. And then move out of the way, because a crowd of chocolate loving fiends will soon come running.

Monday, November 16, 2015

I Had Puff Pastry and Nothing To Do

I was bored. Very bored. I wanted to bake something. Anything. I took inventory...I had apples, pears, and puff pastry, so I found this recipe by Dave Lieberman on the Food Network website.

Apple and Raisin Strudel
Ingredients
2 large Golden Delicious apples, peeled, cored and sliced 1/8 to 1/4-inch thick*
1 lemon, juiced
1 cup raisins
1/4 cup sugar, plus 3 tablespoons
2 tablespoons cold butter, cut into small pieces, plus 2 tablespoons butter, melted
All-purpose flour, for dusting
1 sheet frozen puff pastry, thawed
1 teaspoon ground cinnamon
Directions
Position an oven rack in the center of the oven and preheat to 375 degrees F.
In a medium bowl, toss the sliced apples with the lemon juice until the apples are thoroughly coated. Add the raisins, 1/4 cup sugar, and the 2 tablespoons cold cubed butter and toss well. Set aside.
Lightly dust the counter or work surface with flour. Lay the puff pastry on top and dust the rolling pin with additional flour. Gently roll the puff pastry to 1/8-inch thickness.
Spread the apple and raisin mixture over the bottom half of the puff pastry square leaving about 1-inch of space along the side edges. Fold the top half of the puff pastry over and pinch to seal the edges together.
Brush the entire strudel with the melted butter and then sprinkle with cinnamon and remaining sugar. Using a serrated knife, make 3 diagonal slits across the top of the strudel.
Place the strudel on a parchment lined baking sheet and bake for 40 minutes, rotating halfway through cooking, until the pastry is puffed and golden brown.
Recipe courtesy of Dave Lieberman
Read more at: http://www.foodnetwork.com/recipes/dave-lieberman/puff-pastry-apple-and-raisin-strudel-recipe.html?oc=linkback

*I had Granny Smith apples, so I increased the sugar to about 1/3 cup.

I had raisins (a pantry staple) and, surprisingly, a lemon. I was good to go!

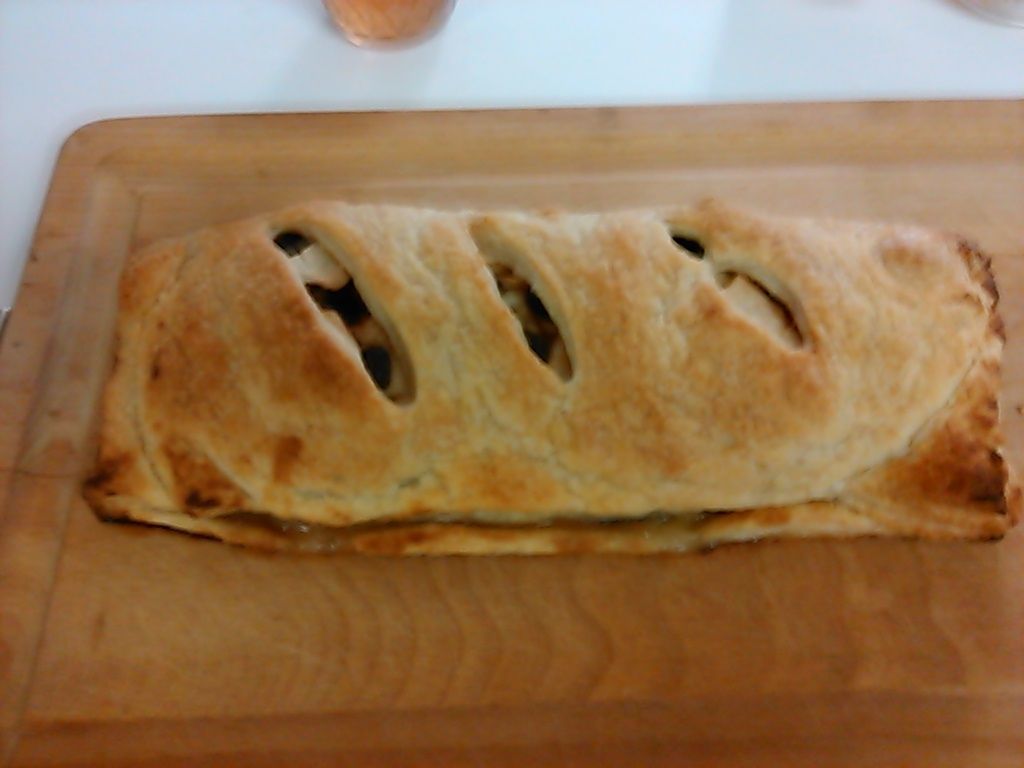
Thank goodness for my Silpat, because it leaked out and made a mess. My seal didn't hold. But the smell was divine. The house smelled of autumn.

 photo IMG_20151116_150004_024_zpsiddlhtf1.jpg

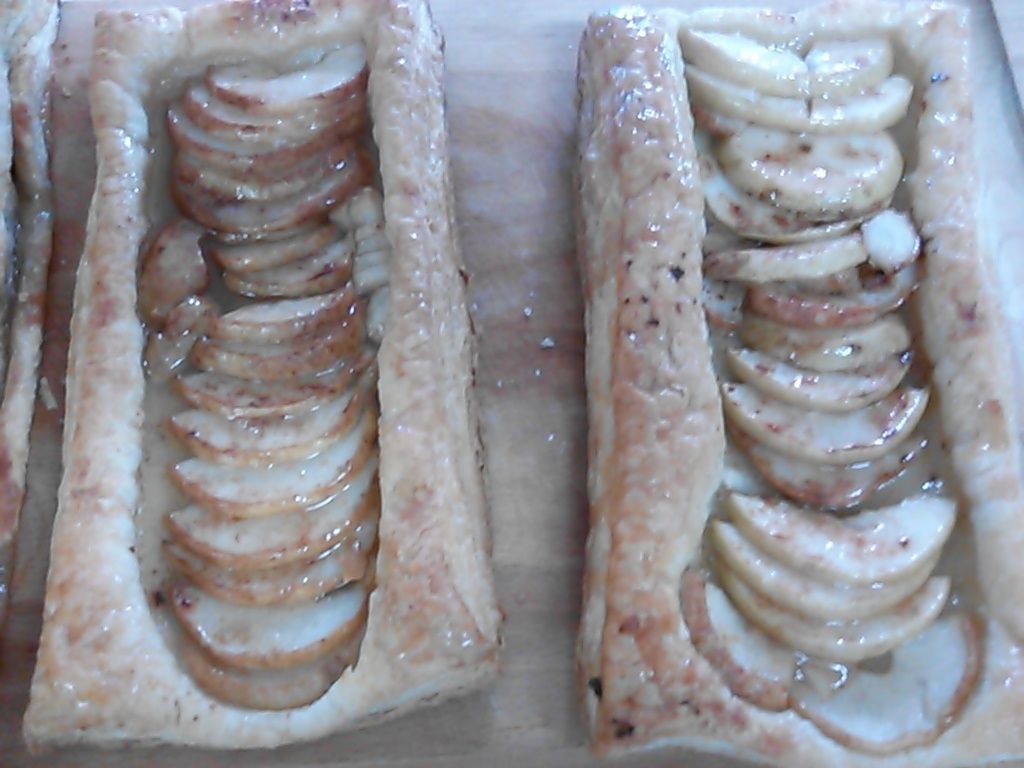
But then, what to do with the other piece of puff pastry? I cored a couple of pears and a small Granny Smith apple and sliced them thin. I placed the slices down the middle of the puff pastry pieces and sprinkled them with cinnamon and sugar. I put them in the oven at 375 on a parchment lined baking sheet and turned the pan after about 15 minutes. I took them out when the pastry looked golden. I heated up some apple jelly in the microwave and spread it over the tarts.

Here is the finished product.

 photo IMG_20151116_152629_860_zpshfes4law.jpg

Tuesday, November 10, 2015

The Magnificent Mini

 photo mini skirt_zpsvsqqiwli.jpg


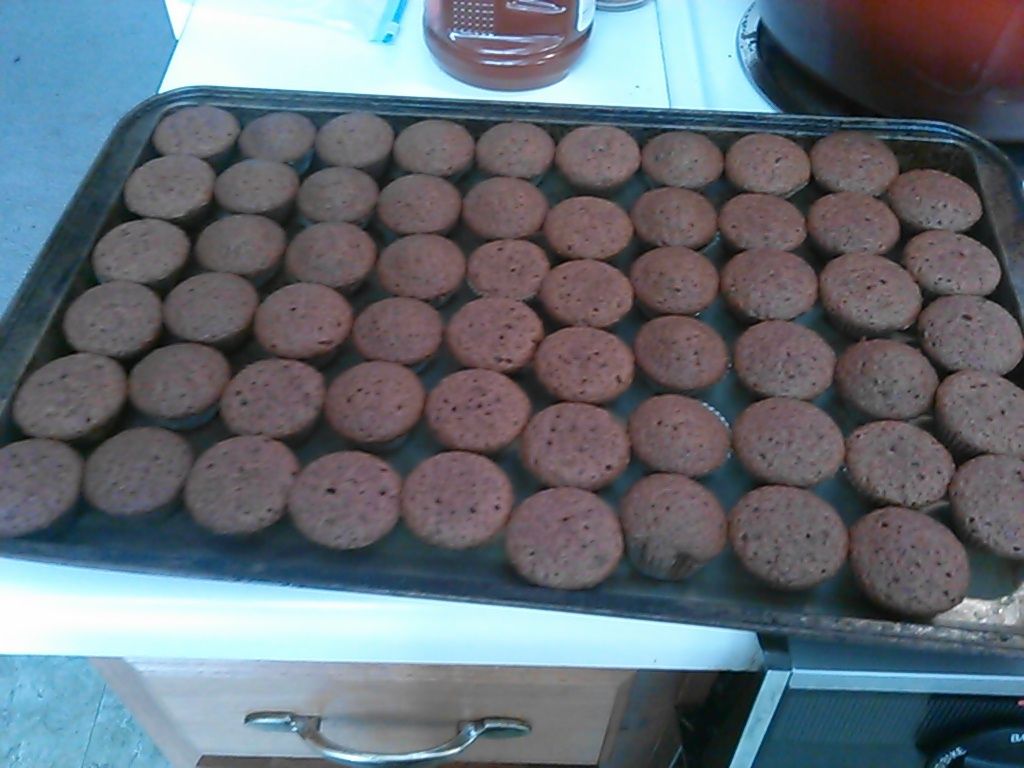
Oh, not the skirt, I'm far too old for that. No, I am talking about bite-sized treats. I was asked to make some things for a reception at church and I decided to make some mini desserts. Today I made some pecan tassies and some mini red velvet cupcakes. I used Martha Stewart's recipe and it made a lot, A LOT of minis...105.

The problems with this is that these suckers are labor intensive. Easy, but I spent a lot of time on my feet.

INGREDIENTS
2 1/2 cups cake flour (not self- rising), sifted
2 tablespoons unsweetened Dutch-process cocoa powder
1 teaspoon salt
1 1/2 cups sugar
1 1/2 cups vegetable oil
2 large eggs, room temperature
1/2 teaspoon red gel-paste food color
1 teaspoon pure vanilla extract
1 cup buttermilk
1 1/2 teaspoons baking soda
2 teaspoons distilled white vinegar

DIRECTIONS
Preheat oven to 350 degrees. Line standard muffin tins with paper liners. Whisk together cake flour, cocoa, and salt.
With an electric mixer on medium-high speed, whisk together sugar and oil until combined. Add eggs, one at a time, beating until each is incorporated, scraping down sides of bowl as needed. Mix in food color and vanilla.

Reduce speed to low. Add flour mixture in three batches, alternating with two additions of buttermilk, and whisking well after each. Stir together the baking soda and vinegar in a small bowl (it will foam); add mixture to the batter, and mix on medium speed 10 seconds.

Divide batter evenly among lined cups, filling each three-quarters full. Bake, rotating tins halfway through, until a cake tester inserted in centers comes out clean, about 20 minutes. Transfer tins to wire racks to cool completely before removing cupcakes. Cupcakes can be stored overnight at room temperature, or frozen up to 2 months, in airtight containers.

To finish, use a small offset spatula to spread cupcakes with frosting.

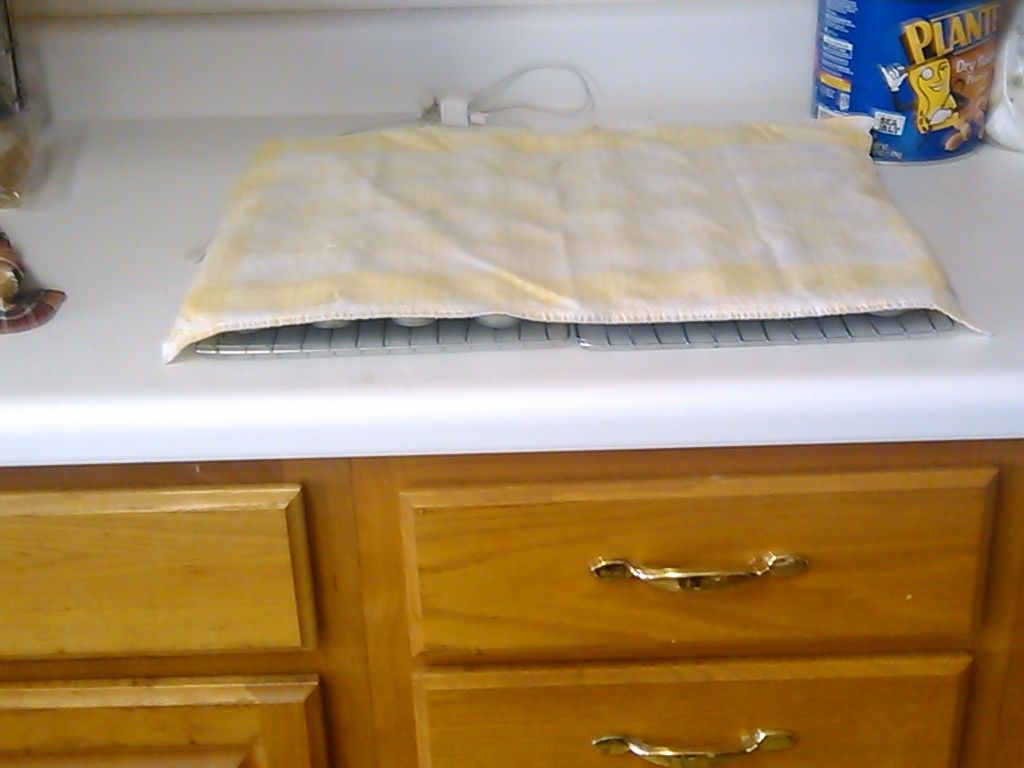
This is how you cool baked goods when you have two very curious cats.
 photo IMG_20151110_131828_230_zpsggpqolie.jpg

I was not pleased with the color. I used 1/2 tsp of gel color, but I think that I got more on me than in the cake.
 photo IMG_20151110_131131_544_zpsblnquia4.jpg


Frosting

12 oz room temperature cream cheese
1 c room temperature butter
1 lb XXX sugar
1 tsp vanilla

Cream together butter and cream cheese. Add sugar and vanilla and cream until smooth.

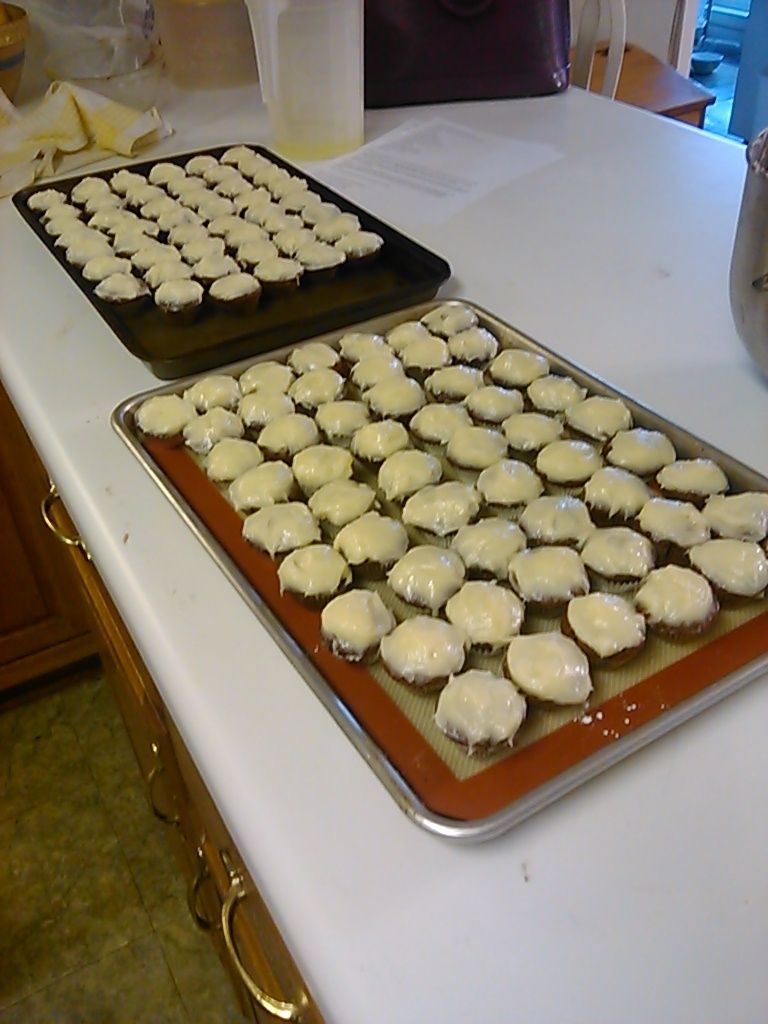
The finished product.
 photo IMG_20151110_155631_250_zpsbdqroby0.jpg

So, for now, I am going to put my feet up and drink some tea, and watch some tv.

Sunday, October 25, 2015

The Perfect Food

Today is my father's 80th birthday. I asked him what he wanted, and he told me pot roast. So I prepared a delicious pot roast, Alton Brown's green bean casserole. and potatoes au gratin. And I made his favorite cake.

I made a Triple Layer Carrot Cake with Cream Cheese Frosting.

First, is there anything that isn't improved by the addition of cream cheese frosting? Second, carrot cake is a perfect food. It's got fruit (raisins), protein (eggs and nuts), vegetables (carrots), and dairy (cream cheese). It has it all! Unfortunately, it is labor intensive. And messy. I will spare you the details of the many places in which I have found carrots.

It made my dad happy.

Triple-layer carrot cake with cream cheese frosting
Bon Appétit | October 1994

Serves 10.

Cake
2 cups sugar
1 1/2 cups vegetable oil
4 large eggs
2 cups all purpose flour
2 teaspoons baking powder
2 teaspoons baking soda
1 teaspoon salt
1 teaspoon ground cinnamon
3/4 teaspoon ground nutmeg
3 cups finely grated peeled carrots (about 1 pound)
1/2 cup chopped pecans (about 1/2 ounce)
1/2 cup raisins

Frosting
4 cups powdered sugar
2 8-ounce packages cream cheese, room temperature
1/2 cup (1 stick) unsalted butter, room temperature
4 teaspoons vanilla extract
preparation
For cake:
Preheat oven to 325°F. Lightly grease three 9-inch-diameter cake pans with 1 1/2-inch-high sides. Line bottom of pans with waxed paper. Lightly grease waxed paper. Using electric mixer, beat sugar and vegetable oil in bowl until combined. Add eggs 1 at a time, beating well after each addition. Sift flour, baking powder, baking soda, salt, cinnamon and nutmeg into sugar and oil mixture. Stir in carrots, chopped pecans and raisins.

Pour batter into prepared pans, dividing equally.
Bake until toothpick inserted into center comes out clean and cakes begin to pull away from sides of pans, about 45 minutes. Cool in pans on racks 15 minutes.
Turn out cakes onto racks and cool completely. (Can be made 1 day ahead. Wrap tightly in plastic and store at room temperature.)

For frosting:
Using electric mixer, beat all ingredients in medium bowl until smooth and creamy.

Place 1 cake layer on platter.
Spread with 3/4 cup frosting. Top with another cake layer. Spread with 3/4 cup frosting. Top with remaining cake layer. Using icing spatula, spread remaining frosting in decorative swirls over sides and top of cake. (Can be prepared 2 days ahead. Cover with cake dome and refrigerate.) Serve cake cold or at room temperature.

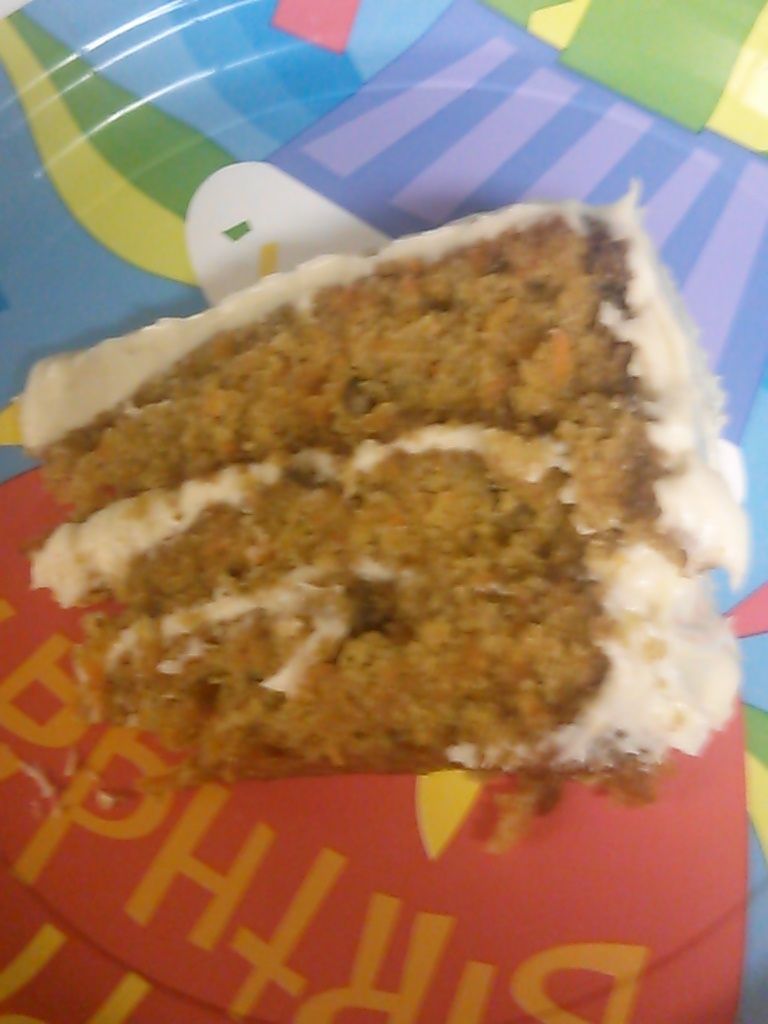
Sorry about the photo quality. It was cut and about half was gone before I was able to take the pic.

 photo IMG_20151025_183230_136_zpslol6dg2h.jpg

It is the perfect food.

Monday, October 5, 2015

Cinnamon Roll Cake

It's a sad story. It really is. I started to make this last week. I prepped the pan and was assembling the ingredients while the oven was preheating, and heard a hissing, popping, sizzling sound. I turned to see flames dancing in the oven. The bottom element was on fire. No cake that day.

But the oven is now repaired and I finally got to try this recipe. I found it on one of my favorite blogs, Chef In Training.

INGREDIENTS
3 cups flour
¼ tsp. salt
1 cup sugar
4 tsp. baking powder
1½ cups milk
2 eggs
2 tsp. vanilla
½ cup butter, melted
TOPPING
1 cup butter, softened
1 cup brown sugar
2 Tbsp. flour
1 Tbsp. cinnamon
GLAZE
2 cups powdered sugar
5 Tbsp. milk
1 tsp. vanilla

INSTRUCTIONS
Preheat oven to 350 degrees. Spray a 9×13 glass baking pan with cooking spray. Set aside.
In an electric or stand mixer add the flour, salt, sugar, baking powder, milk, eggs, and vanilla. Once combined well , slowly stir in the melted butter. Pour into the prepared 9×13 baking pan.
For topping
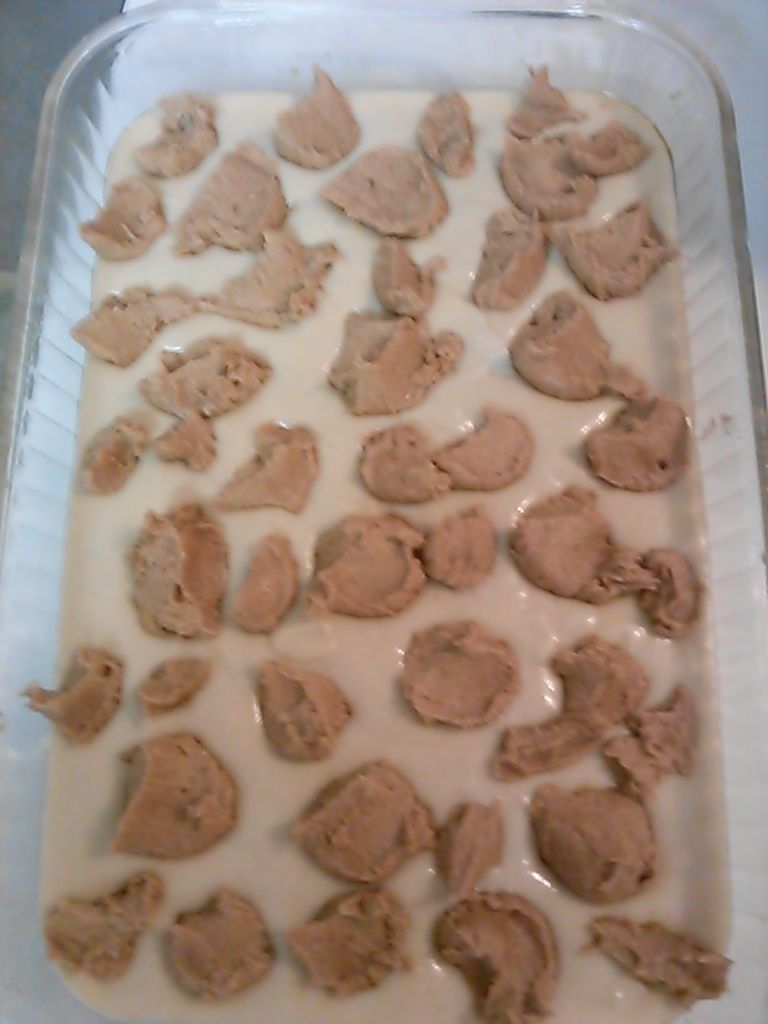
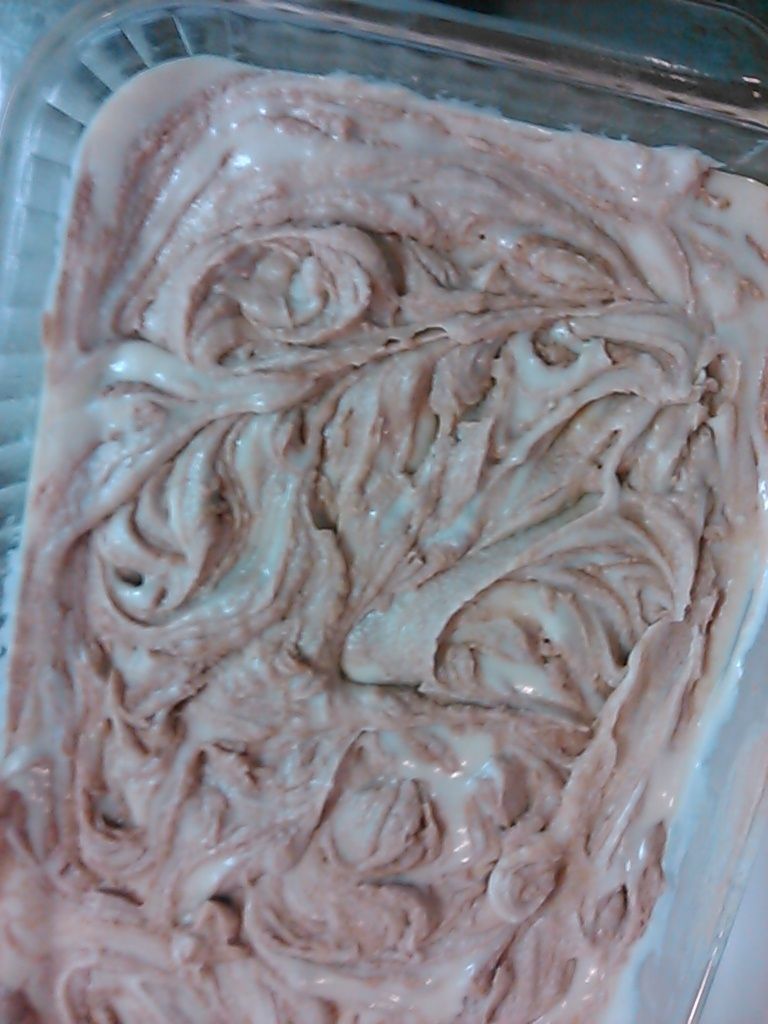
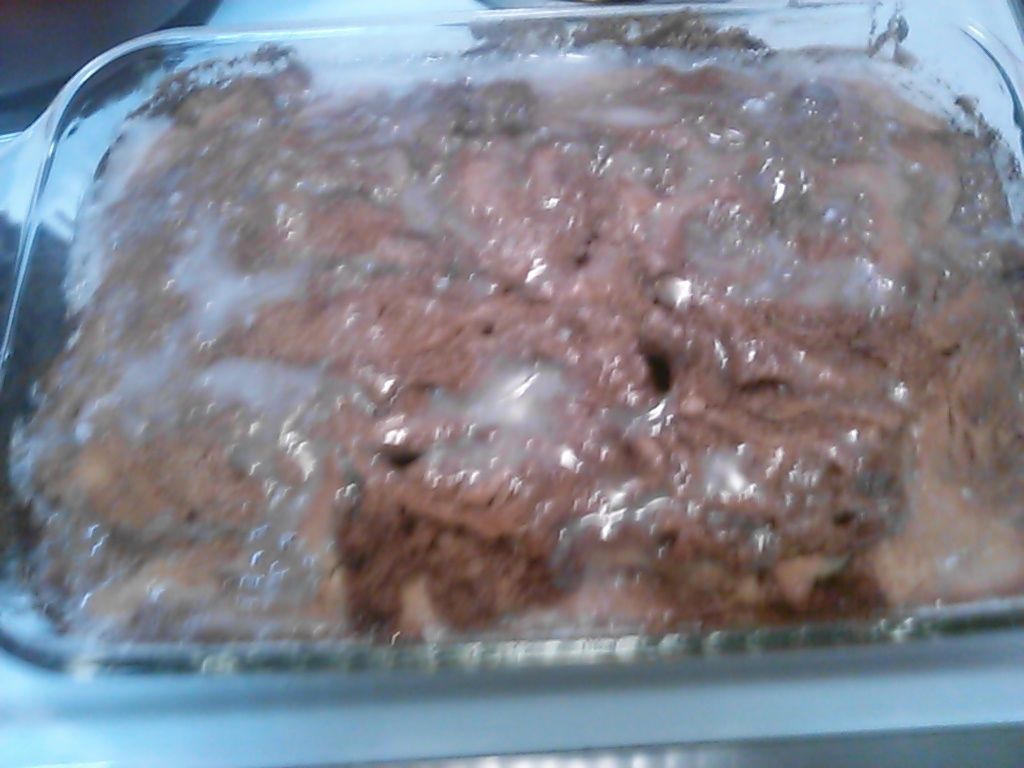
In a large bowl, cream butter, brown sugar, flour and cinnamon together until well combined and creamy. Drop evenly over the batter by the tablespoonfuls and use a knife to marble/swirl through the cake.

 photo IMG_20151005_114519_622_zpssjag5vmi.jpg

 photo IMG_20151005_114703_452_zpspmiw1cja.jpg

Bake at 350 for 35-40 minutes or when a toothpick inserted near the center comes out nearly clean.
FOR GLAZE
In a medium bowl, mix the powdered sugar, milk and vanilla together with a whisk. Drizzle evenly over the warm cake. Serve warm or at room temperature.

 photo IMG_20151005_123800_226_zpscczln7m2.jpg

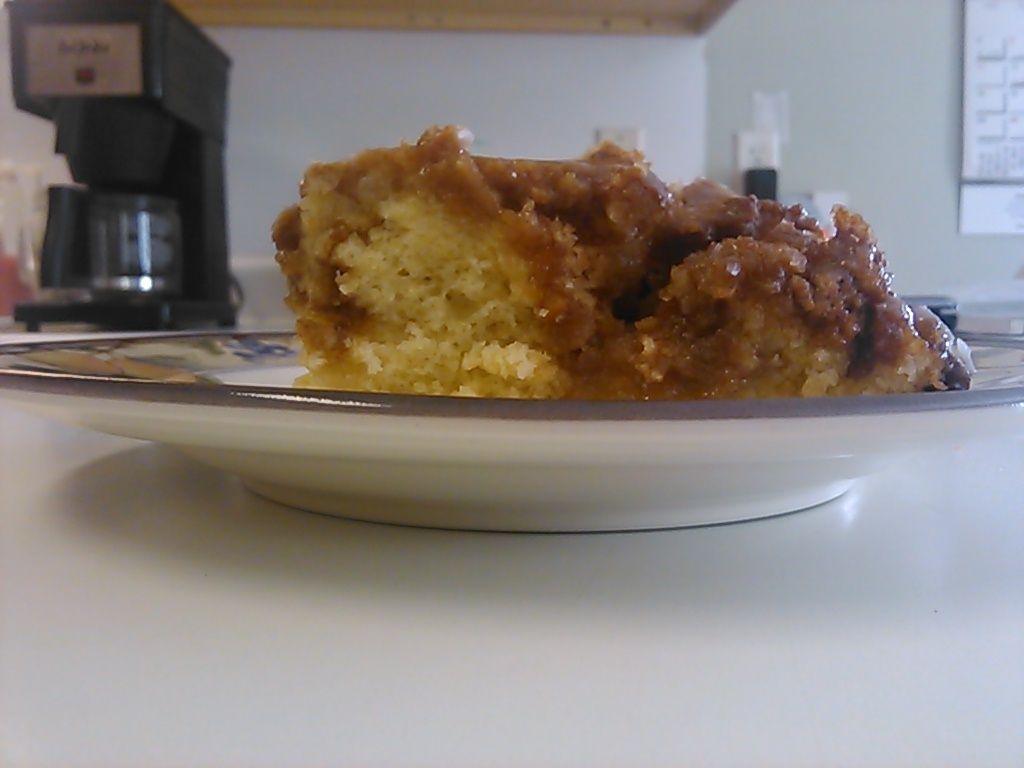
The thing is, it really tastes like a cinnamon roll.

 photo IMG_20151005_124843_001_zpsshtxbmx4.jpg

Sunday, September 20, 2015

Fried Apple Pies

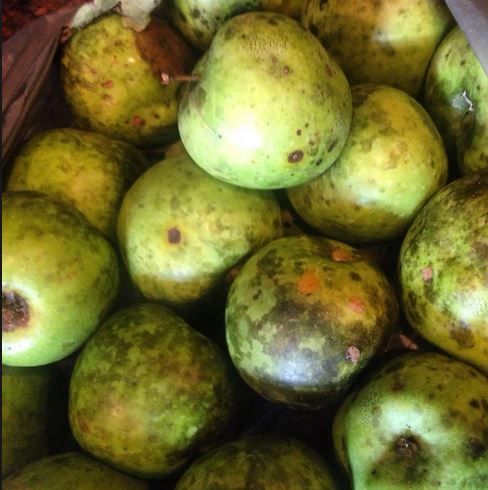
I mentioned these before, when I made fried peach pies. I tried today to replicate my Aunt Alma's fried apple pies. Mine, of course, were different because I bought Sunmaid dried apples. Aunt Alma would pick apples from my Uncle Ed's trees. These were not pretty apples. They really were not fit to eat raw. They were knotty and spotted and hard. They were usually eaten by the farm animals...horses, cows, and goats.

 photo apples_zpsuylbwhnl.jpg

But, Aunt Alma would peel them, slice them thin, and place them on newspaper in the back of the car during the hottest part of summer to dry. Their car always smelled wonderful!

She would put the dried apples into the freezer and pull them out whenever the occasion called for dessert. She would make a biscuit dough and fill it with the apples, re-hydrated and cooked in sugar. They were pan fried, not deep fried, and always delicious...perhaps because they were made with love.
Filling:

2 bags dried apples
3/4 cup sugar
1/2 tsp cinnamon
3 tbs salted butter

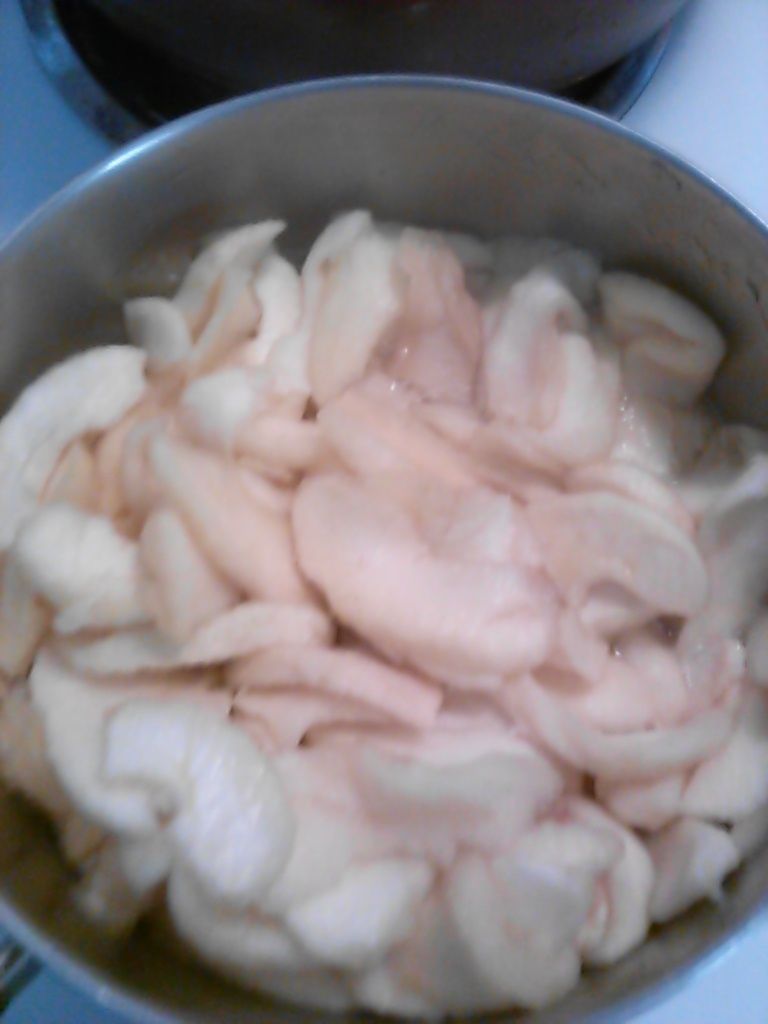
Place the apples in a sauce pan and barely cover with water. Add sugar and cinnamon and bring to a boil. Lower temperature and simmer until apples are plump and soft, not chewy, stirring occasionally. This can take as long as an hour. Add butter and take off heat. Cool completely.

 photo IMG_20150920_133809_554_zpsg3sarvr4.jpg

Dough:

2 to 2 1/2 cups self-rising flour
6 tbs shortening
3/4 to 1 cup ice water

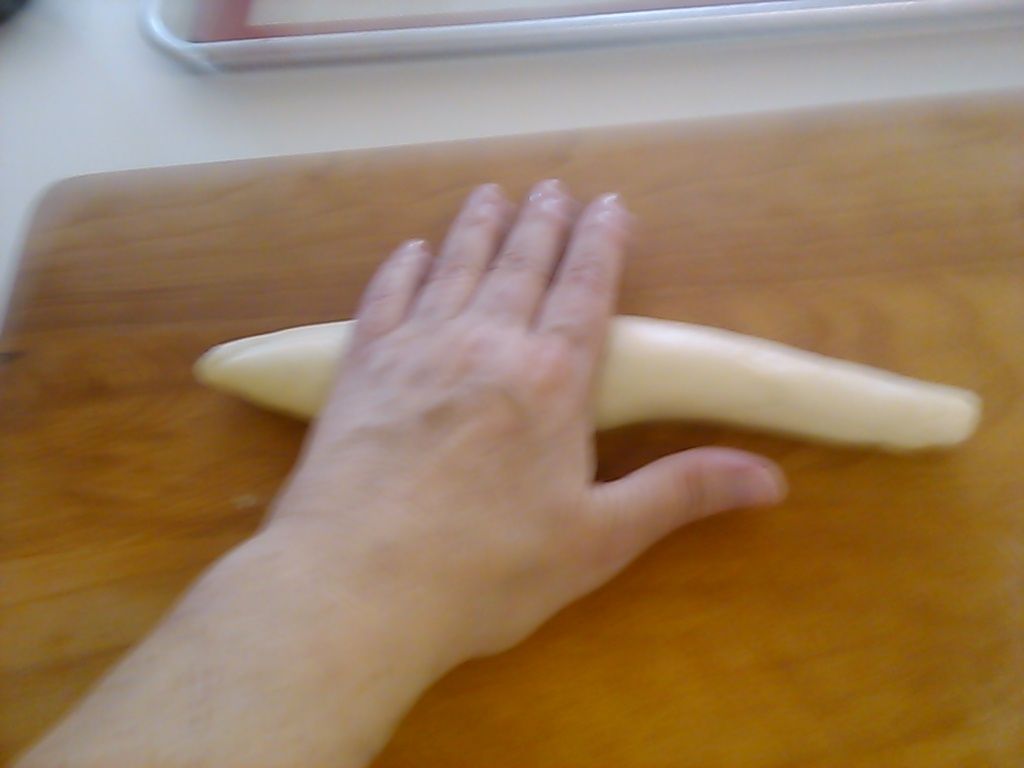
Add shortening to 2 cups flour and work with hands until combined. Add water and mix well. Place on floured board and add flour if needed. Roll approx 1/8" thick and cut into a circle. (I used a saucer as a template.) Place filling in center, being careful to not over-fill. Apply water with fingers to edge of dough and fold over. Seal by pressing with a fork. Place in fridge for 10 to 30 minutes.

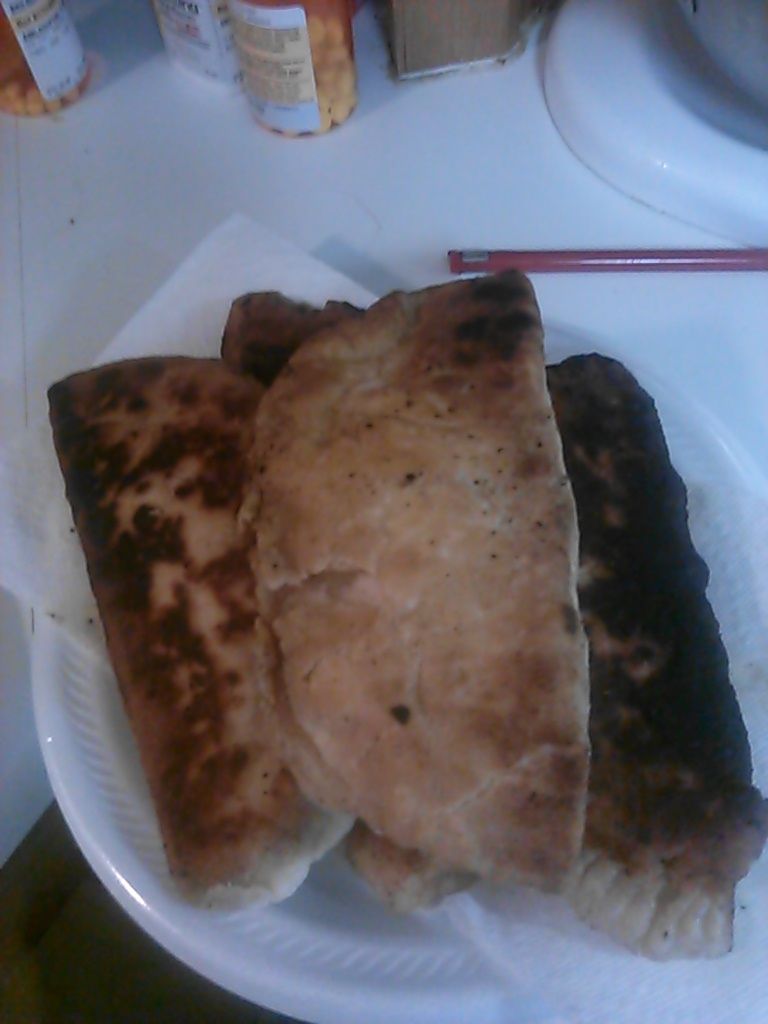
Place 4 tbs shortening and 2 tbs butter in iron frying pan and melt. Turn heat to medium high and place pies in hot oil. (I was able to fit 2 at a time in the pan.) Cook for approximately 3 to 4 minutes per side. Place on paper towel lined plate.

 photo IMG_20150920_165236_750_zps1sbcjv6r.jpg

As you can tell, they will char if not careful. Not burned, but there is a char on them. It looks worse in the photo than it really is.

 photo IMG_20150920_170224_165_zpsqg1trjt2.jpg

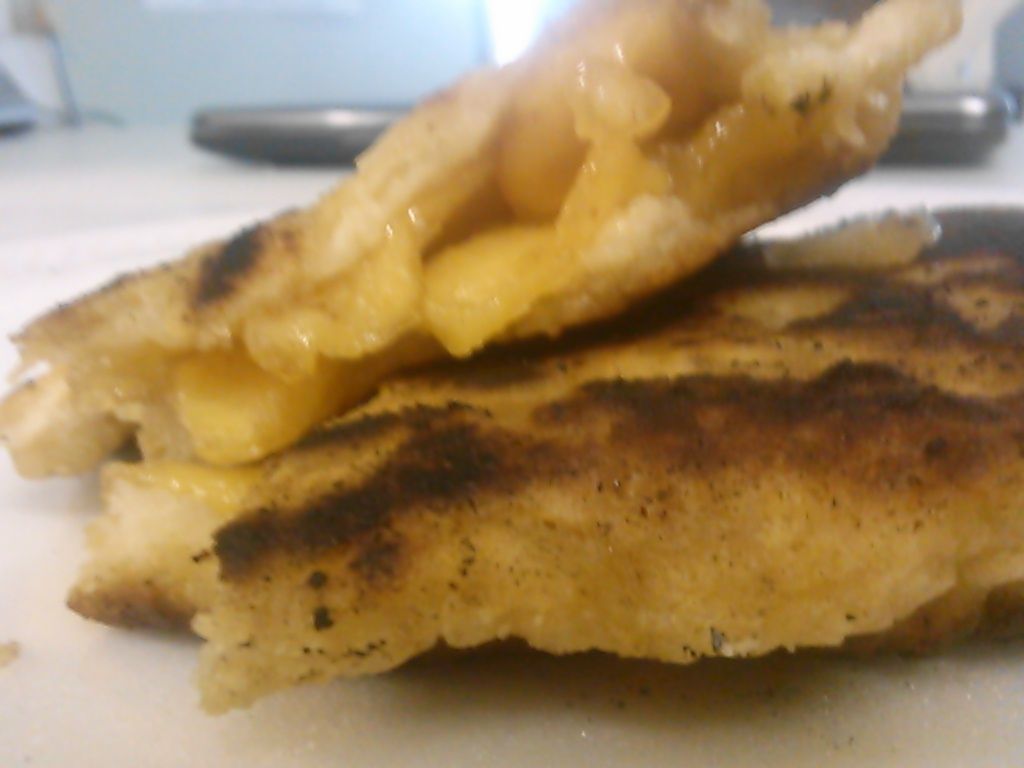
But they are very, very yummy. Aunt Alma would be proud.


Sunday, September 13, 2015

Sweet Dreams Are Made of Cheese

 photo cheeses_zps3tsr64tx.jpg

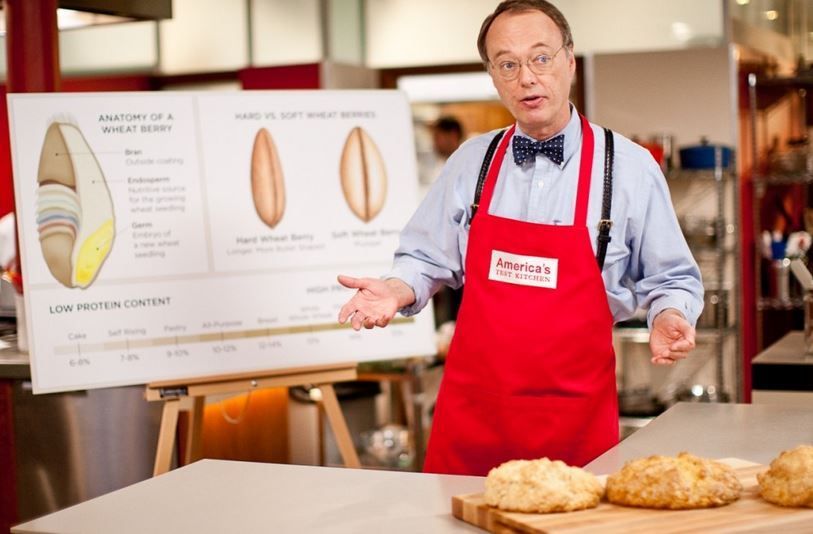
I often wonder if there is any recipe that the good folks of America's Test Kitchen, Cooks Country, and Cook's Illustrated cannot make more complicated. However, I will give them props, they truly simplified a cheese souffle and made it foolproof. I've had better souffles, but I've never made one that was this easy.

 photo atk_zps9mgtou3c.jpg
Chris Kimball of ATK

Cheese Souffle- ATK
Serves 4-6
1 oz. Parm cheese, grated (1 ½ C)
¼ C. (1 ¼ oz) all- purpose flour
¼ t. paprika
¼ t. salt
1/8 t. Cayenne
1/8 t. white pepper
4 T. unsalted butter
1 1/3 C. Whole milk
6 oz Gruyere cheese, shredded ( 1 ½ C)
6 Large eggs, separated
2 t. minced fresh Parsley
¼ t. Cream of Tartar
1. Adjust oven rack to middle position & heat oven to 350*. Spray 8” round (2 qt) soufflé dish with Veg oil spray, then sprinkle with 2 T. Parmesan Cheese.
2. Combine flour Paprika, salt, cayenne, white pepper in bowl. Melt butter in small saucepan over MED heat. Stir in flour mixture and cook for 1 minute. Slowly whisk in milk and bring to simmer. Cook, whisking constantly, until mixture is thick and smooth, about 1 minute. Remove pan from heat and whisk in Gruyere and 5 T. Parmesan until melted and smooth. Let cool for 10 minutes, then whisk in egg yolks and 1 ½ t. parsley (SLICED Scallions instead).
3. Using Stand Mixer fitted with whisk, whip egg whites and cream of tartar on MED-LO speed until foamy, about 1 minute. Increase speed to MED-HI and whip until STIFF peaks form, 3-4 minutes. Add cheese mixture and continue to whip until FULLY combined, @ 15 seconds.
4. Pour mixture into prepared dish and sprinkle with remaining 1 T. Parm. Bake until risen above rim, top is deep golden brown, and interior registers 170*, 30-35 minutes. Sprinkle with ½ t. Parsley and serve immediately.

 photo IMG_20150913_181435_680_zps53shxrvt.jpg

I must confess that I used slightly less cayenne and I omitted the parsley. I bought my parmesan cheese at the Piggly Wiggly and it was not aged very long. It was moist and did not do very well in coating the dish, so I (and I'm blushing here) used the stuff in the canister.

It was beautiful! Delicate and fluffy and light as air.

The thing about a souffle is this...it is delicate and beautiful and light as air and you really want to show it off. But it cannot be made ahead. It has to be eaten immediately because it will deflate before the meal is done. And, how can you spend all of that time in the kitchen away from your guests? Should you? So, when served with a salad, it becomes a light family dinner.

Saturday, September 5, 2015

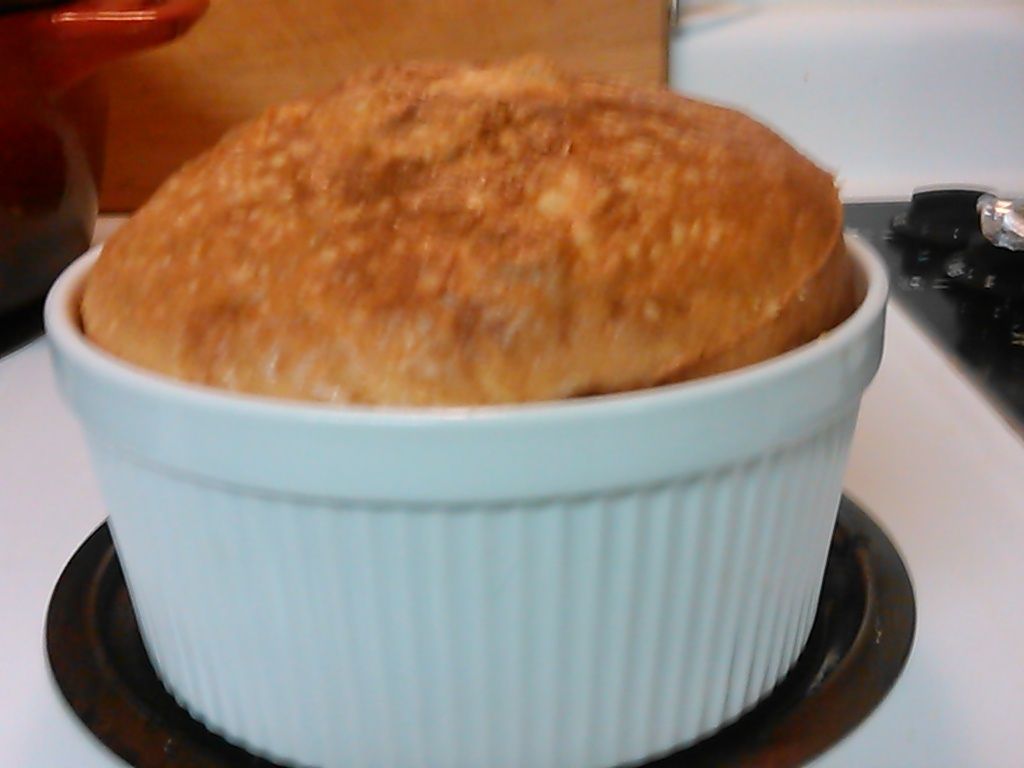
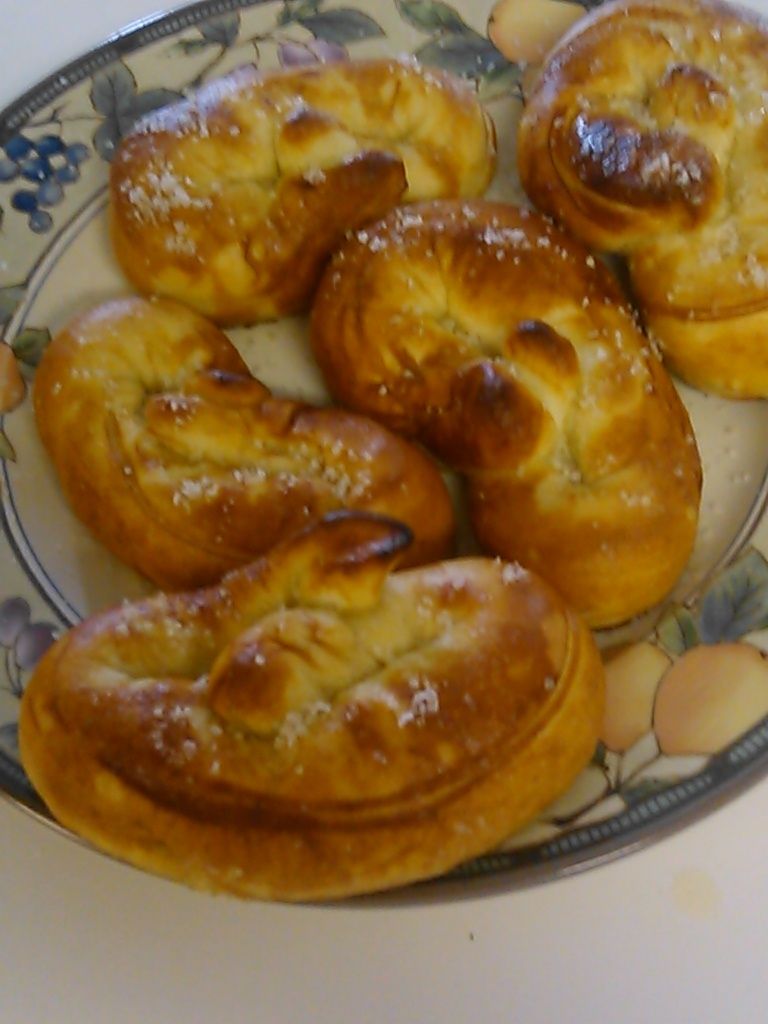
Soft, Sweet, Salty Pretzels

I love the big, soft warm pretzels at the mall. I avoid them, because I really don't need them, but I do love them. Salty with mustard or cheese, or cinnamony sweet with a cream cheese icing for dipping. So today I decided to try making them for myself.

I researched several recipes and this one really called to me...perhaps because of the word "buttery" in the title. Now, having made these, I cannot believe how easy they are to make. Only a few ingredients, and I had everything in the pantry. I found it on Allrecipes.com and it is by Christa Rose.

Buttery Soft Pretzels

Ingredients
4 teaspoons active dry yeast
1 teaspoon white sugar
1 1/4 cups warm water (110 degrees F/45 degrees C)
5 cups all-purpose flour
1/2 cup white sugar
1 1/2 teaspoons salt
1 tablespoon vegetable oil
1/2 cup baking soda
4 cups hot water
1/4 cup kosher salt, for topping*

Directions
In a small bowl, dissolve yeast and 1 teaspoon sugar in 1 1/4 cup warm water. Let stand until creamy, about 10 minutes.
In a large bowl, mix together flour, 1/2 cup sugar, and salt. Make a well in the center; add the oil and yeast mixture. Mix and form into a dough. If the mixture is dry, add one or two more tablespoons of water. Knead the dough until smooth, about 7 to 8 minutes. Lightly oil a large bowl, place the dough in the bowl, and turn to coat with oil. Cover with plastic wrap and let rise in a warm place until doubled in size, about 1 hour.

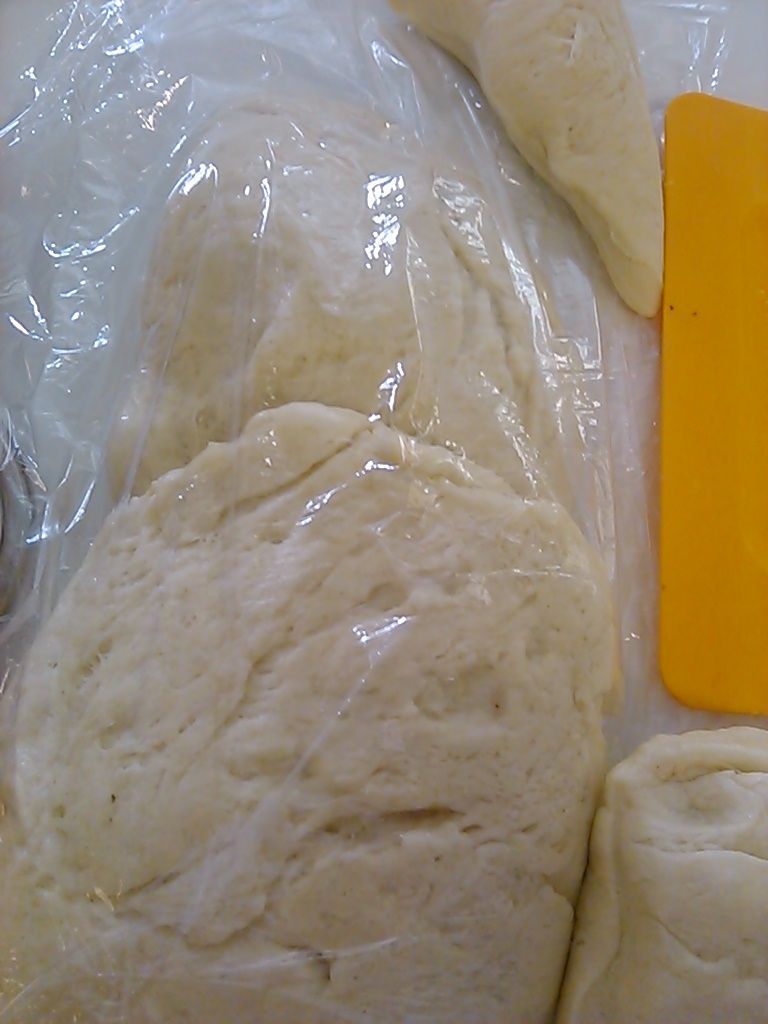
Pretzel dough photo IMG_20150905_130712_606_zpssq8eddb7.jpg It's a hot day, so I put it out into the garage for an hour and look at what a beautiful dough it made!

Preheat oven to 450 degrees F (230 degrees C). Grease 2 baking sheets.
In a large bowl, dissolve baking soda in 4 cups hot water; set aside. When risen, turn dough out onto a lightly floured surface and divide into 12 equal pieces. Roll each piece into a rope and twist into a pretzel shape. Once all of the dough is shaped, dip each pretzel into the baking soda-hot water solution and place pretzels on baking sheets. Sprinkle with kosher salt.*

Rollin photo IMG_20150905_131119_434_zpsk6qxwps5.jpg
Rollin' rollin', rollin.

Dunkin photo IMG_20150905_132247_151_zps3z3cvmu7.jpg
Dunkin'.

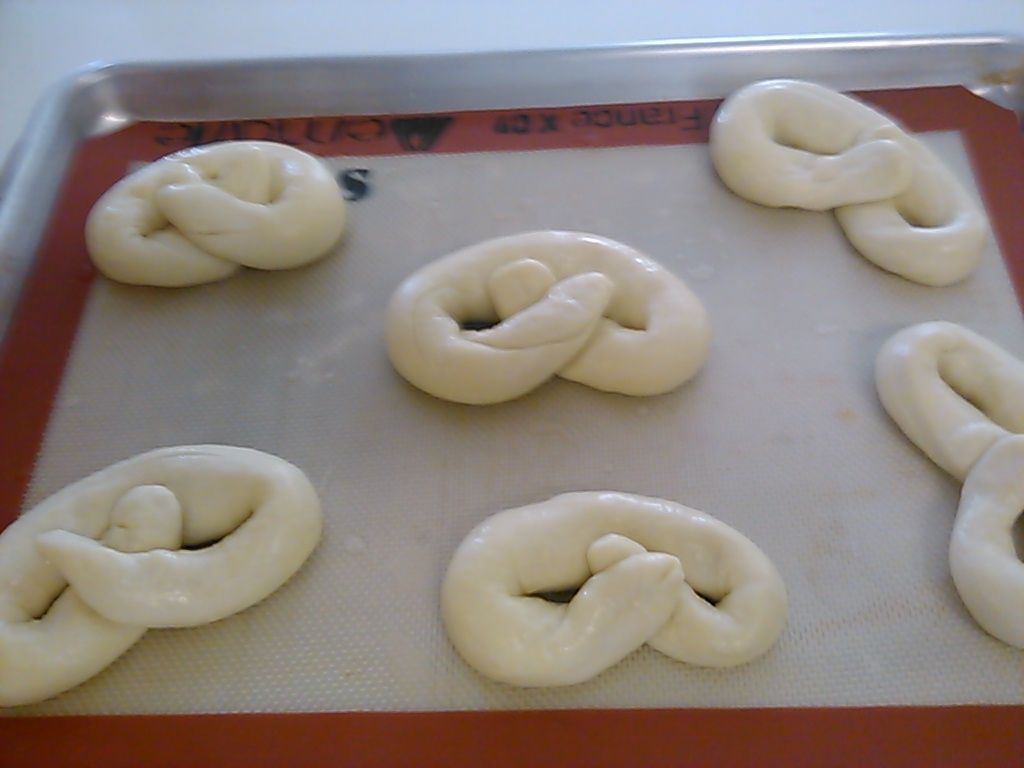
Twisted photo IMG_20150905_132604_134_zps0vfgvae1.jpg
Twisted and ready to go in the oven.


Bake in preheated oven until browned, about 8 minutes.

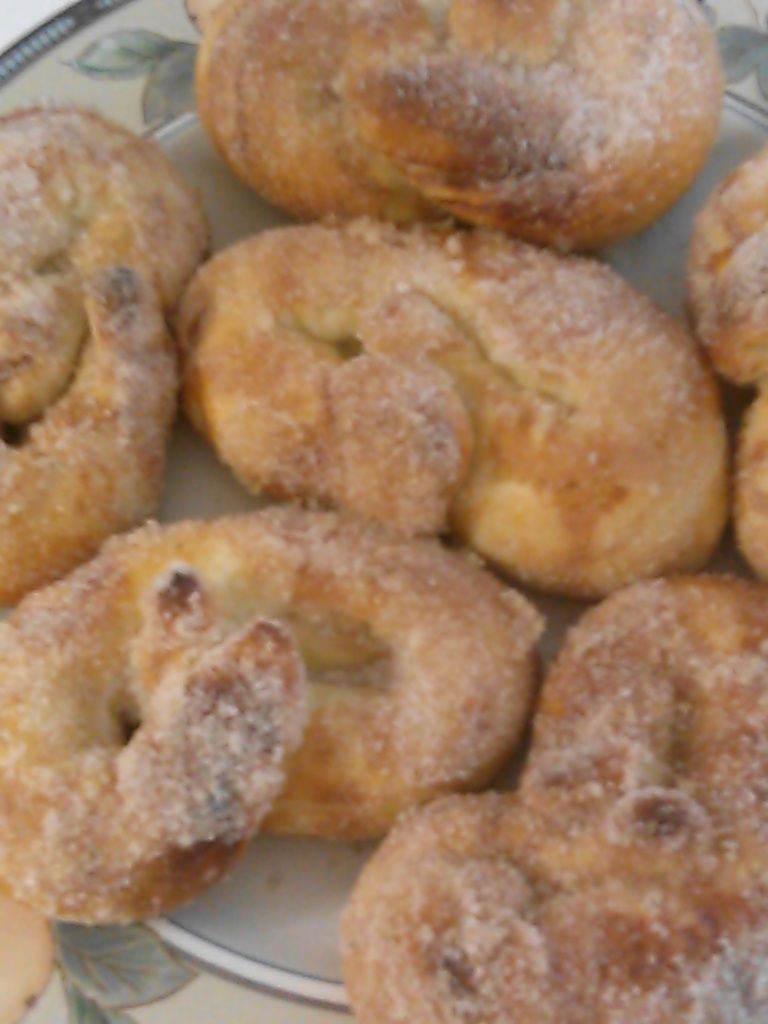
At this point, I dipped them in butter and them rolled half in cinnamon sugar.

 photo IMG_20150905_135749_828_zpsxcup6uvc.jpg

*I sprinkled the rest of the butter dipped pretzels with Gray sea salt.

 photo IMG_20150905_135736_241_zps5qvwergp.jpg

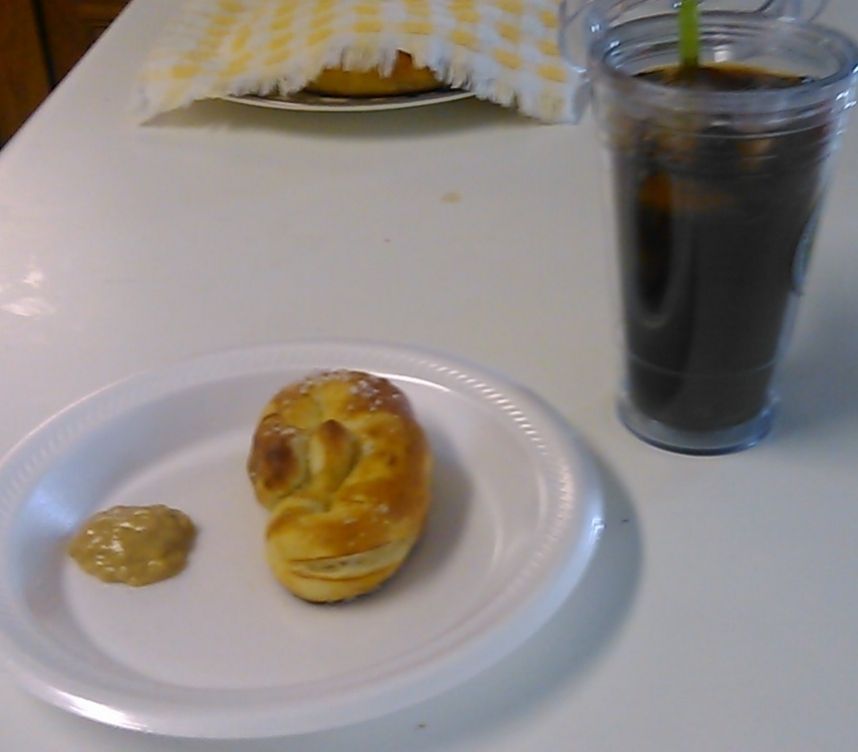
And, here you go, just like at the mall, with honey mustard and a Diet Dr. Pepper.

 photo 6a147f8a-13a9-44cc-831c-51211bc17008_zpsaqoeiaob.jpg

They are delicious, easy, and will be great fo snacking while watching the football game tonight...Roll Tide!

Saturday, August 22, 2015

Pineapple Upsidedown Cake Redux

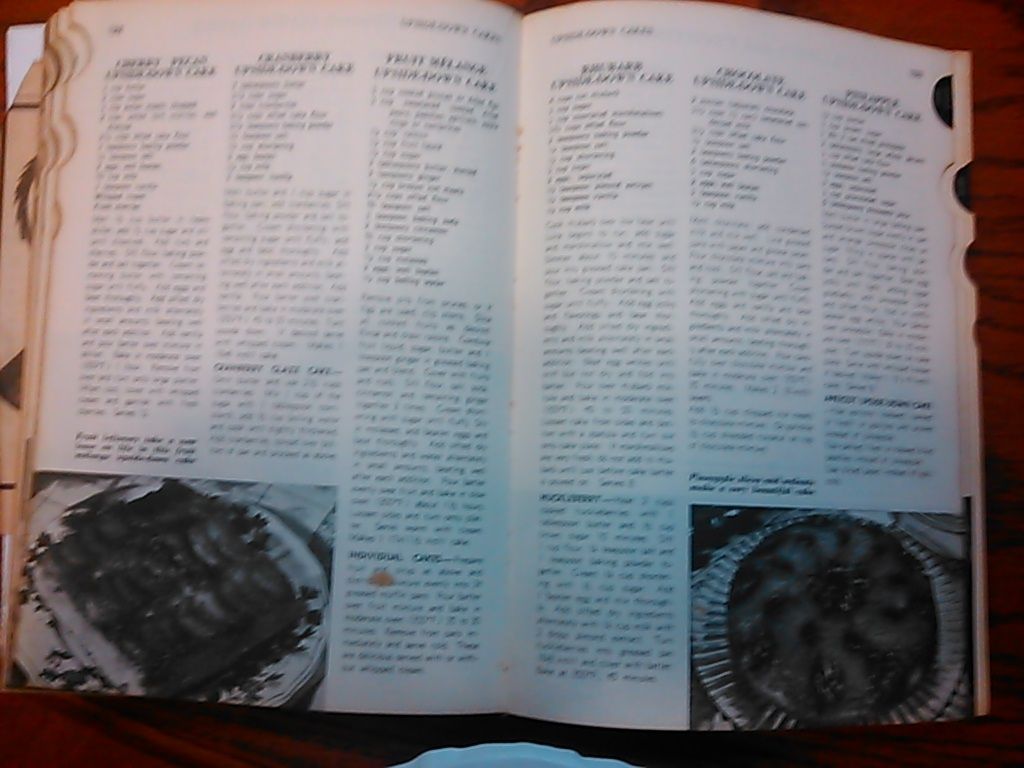
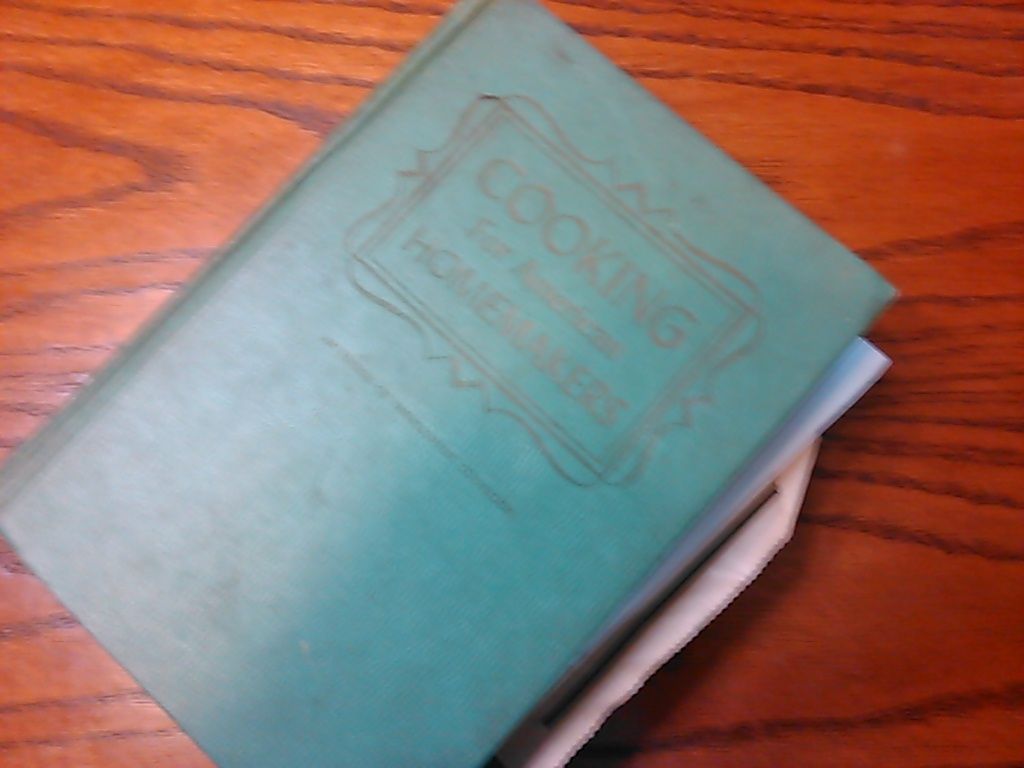
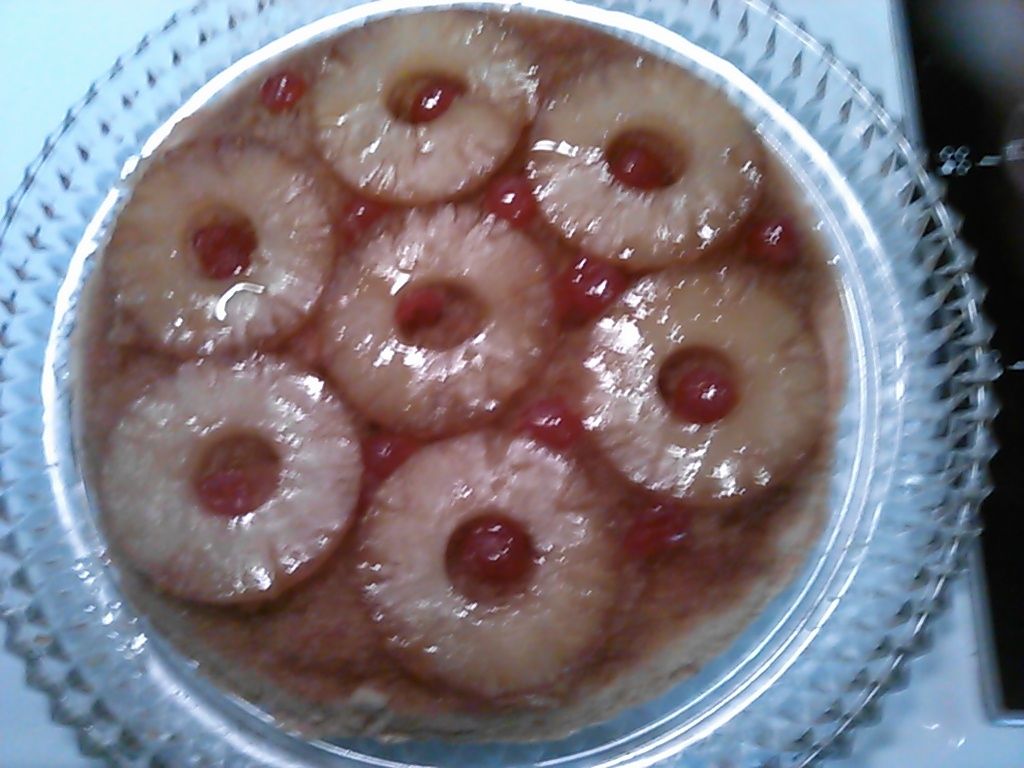
I decided to try again. This time I used the recipe from the Cooking for American Homemakers circa 1947. Once again, the cake rose beautifully and looked amazing...until it was inverted. It flattened out. But, I had seen individual pineapple upside down cakes at a bakery that were just as flat. So, at this point, I am assuming that it is supposed to be that way.

If you look very closely, you can see that the one in the photo from the cookbook is a bit flat.

 photo IMG_20150822_183442_645_zpsnbbcgweo.jpg

 photo IMG_20150822_183433_337_zpsfrzxenfc.jpg

Yes, I know that it is hard to tell. But it's the best that I could do.

I do consider this cookbook a treasure.

 photo IMG_20150822_183522_571_zpsnghjmgao.jpg

 photo IMG_20150725_152839_812_zpsjmohvyav.jpg

I cannot testify the taste of this one, however, because it is going to church tomorrow. I'll find out then.

ETA: It just occurred to me that I had not posted the recipe. Here it is:

1/2 cup butter
1 c brown sugar
1 No. 2 can sliced pineapple
2 tbs large whole pecans
1 c sifted cake flour
1 tsp baking powder
1/8 tsp salt
3 eggs separated
1 c granulated sugar
5 tbs pineapple juice

Melt butter in large baking pan. Spread brown sugar evenly over pan and arrange pineapple slices on sugar, filling in spaces with pecans. Sift flour, baking powder, and salt together and set aside. Beat egg yolks until light and fluffy; gradually add sugar. Add pineapple juice and flour mixture; fold in stiffly beaten egg whites. Pour batter over pineapple. Bake in moderate (375 degree) oven 30 to 35 minutes. Turn upside down on cake plate. Serve with whipped cream if desired. (9" x 9") cake serves 8.

My notes: I used my 10" iron skillet and instead of pecans, I used maraschino cherries cut in half, about 9.

Wednesday, August 19, 2015

Liquid Gold

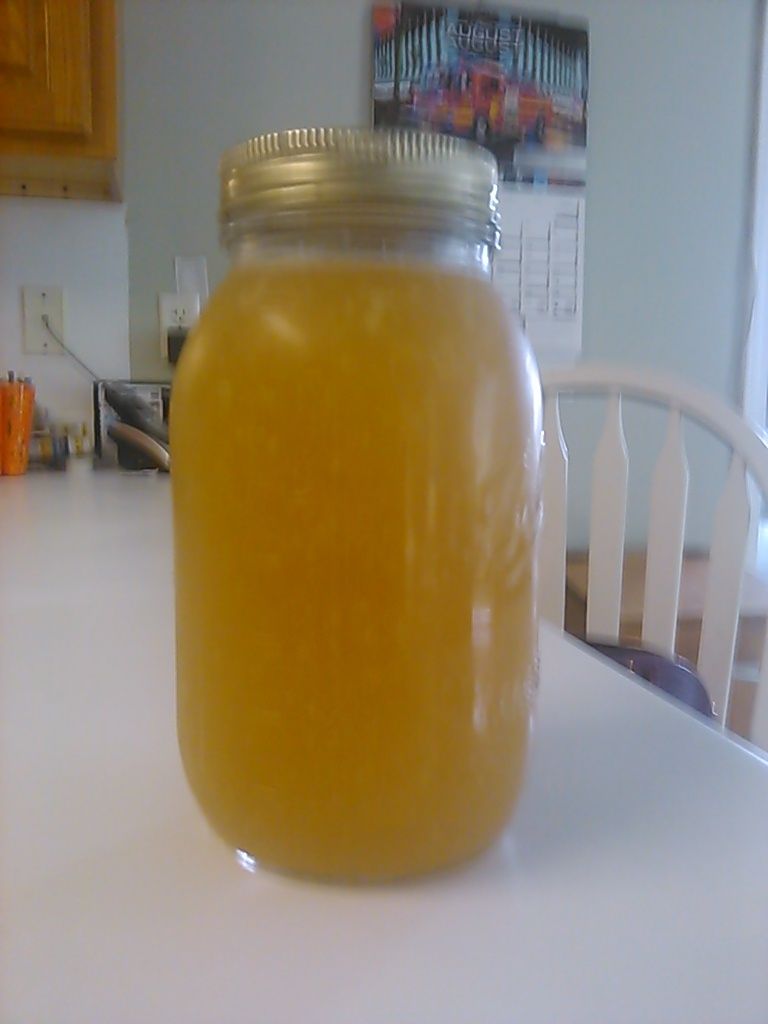
The local Piggly Wiggly had chicken leg quarters on sale for thirty-nine cents per pound. I don't eat chicken legs, but I will eat thighs, so I bought ten pounds. I put half in the freezer and put the other half in the crockpot with my onion scraps, celery, carrots, water, salt and pepper for ten hours on low heat. I took it out of the crockpot and put it in the fridge overnight. This morning, I skimmed off the schmaltz, scooped the broth through a strainer, and shredded the meat.

I'll use the meat for chicken casserole later, but right now I have one beautiful quart of the richest, most delicious chicken stock in the freezer. The possibilities are endless! My cyber buddy Linda's Jewish Pennicillin? Seasoned rice? Seasoned veggies?

Until then....

 photo IMG_20150819_103531_115_zpsrvta8dba.jpg

ETA: Onion scraps. Whenever I have bits of onions left, too little to save for use another time, I put them in a container in the freezer. The same with celery tops and carrot ends. Then, when I'm ready to make broth, I empty out my scraps. I have a very interesting freezer full of veggie scraps and butter wrappers. I use the wrappers to grease pans for baking.

Friday, August 14, 2015

Blueberry Clafoutis and Dainty Sugar Cookies

Well, I've been very busy lately. I've done bit of cooking but haven't really had time to post anything, so I'm doubling up.

I went to a shrimp boil last week and our hosts asked that we bring sides and desserts. I made some wonderful marinated tomatoes but decided that I had time to make a dessert. I may or may not have mentioned my stockpile of blueberries in the past, but I am slowly working my way through them. I decided that I had everything I needed to make a clafoutis and went in search of a good recipe. I settled on this basic recipe from Epicurious.
Basic Clafoutis
INGREDIENTS
1 cup whole milk
3 eggs
1/2 cup sugar
1 teaspoon vanilla extract
2 tablespoons butter, melted
1/2 cup all-purpose flour
PREPARATION
1. Preheat the oven to 325°F. In a large bowl, whisk together the milk, eggs, sugar, vanilla, and butter until the sugar is dissolved. Add the flour and whisk until smooth. Pour the batter into a cast iron skillet or pie pan.
2. Now add your favorite fruit or flavoring (see below). Bake until the clafoutis is beautifully puffed and golden, 35–40 minutes. Serve immediately.

Clafoutis Variations:
Concord Grape Clafoutis: Once the batter is in the skillet, scatter 2 cups slightly crushed Concord or other black or red grapes on top.
Cherry Clafoutis: Scatter 2 cups pitted cherries onto the batter once it's poured into pie plates.
Pear Clafoutis with Pear Eau de Vie: Core 1 ripe pear and cut into pieces. Pour the batter into the skillet and top with the pear pieces. Bake. Drizzle with 2 tablespoons eau de vie and serve immediately.

This is the finished product.
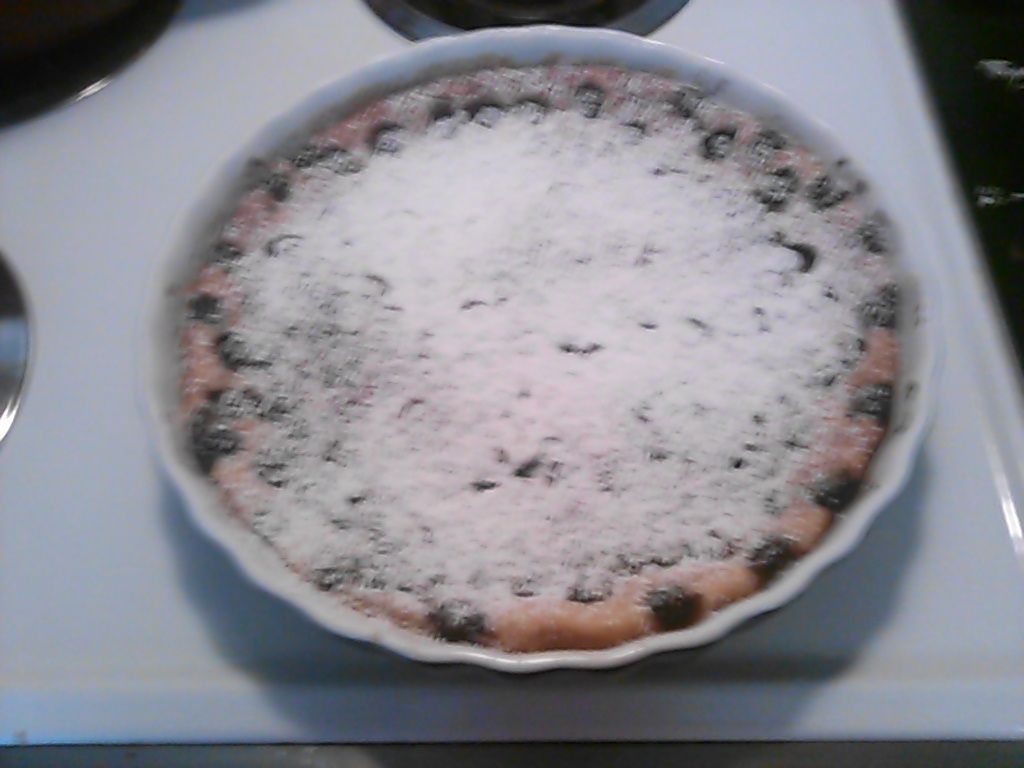
 photo IMG_20150808_151104_830_zpsgoqoybt2.jpg

This is a very easy dessert that looks elegant. Serve it with a little whipped cream and yummy!
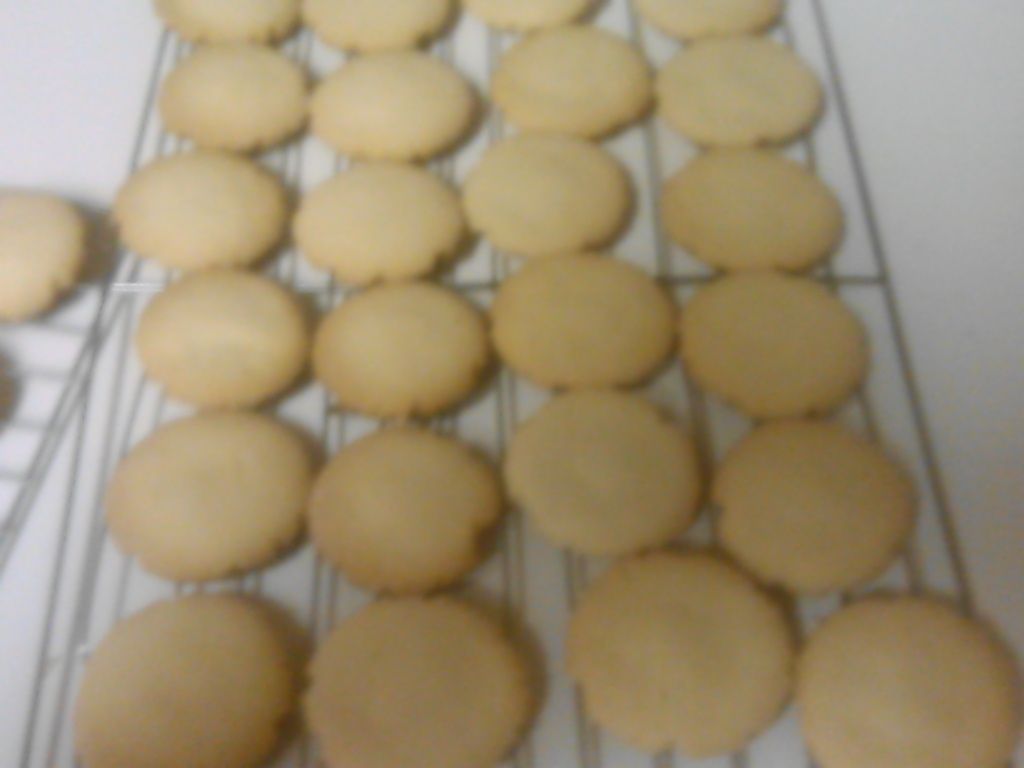
This week I have a meeting at church on Saturday, Knit, Crochet, Pray!, where we will make scarves for the homeless.Since it was my idea, I am hostessing so I decided to make some cookies. I found this recipe on the Proboard I belong to, Contessa's Kitchen, which was submitted by one of the members with the handle "Soushi".

Dainty Sugar Cookies

1 C. butter

1 C. shortening

1 C. powdered sugar

1 C. white sugar

2 t. vanilla

4 1/2 C. flour

1 t. cream of tartar

1 t. baking soda

Mix well. Roll into small balls. Place on cookie sheet (I used parchment paper). Flatten with a glass (bottom side) that has been dipped in white sugar (one dip for each cookie) Bake 10 minutes at 350 degrees or until lightly browned.

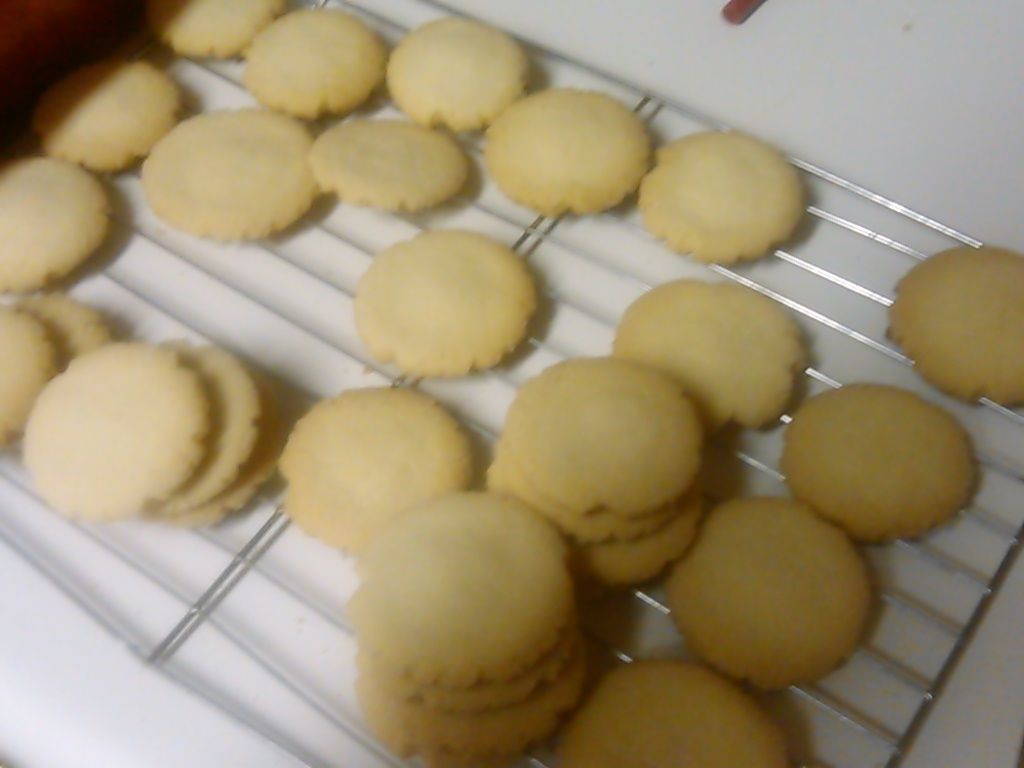
I used the 1/2 tablespoon measuring spoon and they are about the size of vanilla wafers. They are very sweet and will be great with tea or coffee, I think. This size made about 7 dozen.

 photo IMG_20150814_203225_785_zps4u6bzu8i.jpg

 photo IMG_20150814_203232_679_zpsqrnmw8a6.jpg

I give both recipes two thumbs up! And it is so nice to have a success.

Sunday, August 2, 2015

Martha, Martha, Martha

I am so disappointed!

I love to watch cooking shows and Martha Bakes is one of my favorites. I want to be a baker. I want to make beautiful cakes. I want to create pastry that will make your eyes roll back in your head. So, to that end, I decided that I wanted to try to make an Italian Meringue Buttercream frosting. I made a chocolate cake. A perfectly wonderful, delicious chocolate cake using a Natalie Dupree recipe. I found several recipes for the frosting, but decided to use Martha Stewart's recipe because Martha has never let me down.

Until now.

This frosting ruined my cake. It was awful. It tasted like pure butter.

Martha Stewart's Italian Meringue Buttercream Frosting

1 1/4 cups sugar
5 large egg whites
Pinch of cream of tartar
1 pound (4 sticks) unsalted butter, chilled
1 teaspoon pure vanilla extract

DIRECTIONS

In a small saucepan over medium heat, bring sugar and 2/3 cup water to a boil. Continue boiling until syrup reaches 238 degrees on a candy thermometer (soft-ball stage).
Meanwhile, place egg whites in the bowl of a standing mixer fitted with the whisk attachment, and beat on low speed until foamy. Add cream of tartar, and beat on medium-high speed until stiff but not dry; do not overbeat.
With mixer running, add syrup to whites in a stream, beating on high speed until no longer steaming, about 3 minutes. Add butter bit by bit, beating until spreadable, 3 to 5 minutes; beat in vanilla. If icing curdles, keep beating until smooth.

So I checked Buddy Valastro's recipe.

Cake Boss Italian Meringue Buttercream Frosting

INGREDIENTS:

8 extra-large egg whites
2 cups sugar
1/2 cup water
4 cups (8 sticks) usalted butter, at room temperature, cut into small cubes
1 tablespoon pure vanilla extract

PREPARATION:
Put the whites in the bowl of a stand mixer fitted with the whip attachment.
Put 1-1/2 cups of the sugar and the water in a heavy saucepan and bring to a boil over medium-hight heat, stirring with a wooden spoon to dissolve the sugar. Continue to cook, without stirring, and bring to the soft ball stage (240 degrees Fahrenheit).
Meanwhile, whip the whites at high speed until soft peaks form, approximately 5 minutes. With the motor running, add the remaining 1/2 cup sugar gradually, continuing to whip until medium peaks form.
When the sugar reaches 240 degrees Fahrenheit, with the motor running, pour it into the egg whites, very slowly, in a thin stream, to avoid cooking the eggs. Raise the speed to high, and continue to whip until the mixture has cooled to room temperature, 10 to 15 minutes.
Stopping the motor between additions, add the butter in five increments, scraping the bowl with a rubber spatula before adding each addition of butter. With the motor running, add the vanilla, and whip just until it is blended in. (The buttercream can be refrigerated in an airtight container for up to one week. Let it come to room temperature and paddle briefly before using.)

See the difference? I cannot help but think that the additional egg whites, sugar, and vanilla only improve the taste.

I will try Buddy's recipe in the future, specifically when I feel like using up a pound of butter. But I can highly recommend the cake recipe:

Everybody's Favorite Chocolate Cake
Natalie Dupree's Matters of Taste

2 cups all purpose flour
2 cups sugar
1/2 cup unsweetened cocoa powder
1 t. baking soda
1/2 t. salt
3/4 cup vegetable oil
1/2 cup buttermilk
2 eggs
2 t. vanilla
1 cup boiling water

Preheat oven to 350*. Grease three 8 in. or two 9 inch pans or a 13 x 9 inch pan. Line the bottom of the pans with wax paper cut to fit. Grease and flour the paper.

Combine the flour, sugar, cocoa powder, baking soda and salt in a large mixing bowl. Add the oil, buttermilk, eggs, and vanilla. Beat 2 minutes at medium speed. Stir in the boiling water until blended. The batter will be thin.

Pour the batter evenly into the prepared pan. Bake 30 - 35 minutes or until a toothpick inserted near the center comes out clean. Cool in the pans on wire racks 5 minutes. Remove the cakes from the pans and finish cooling them on wire racks.

I refuse to even show a picture of this one.

Oh, Martha! Why?

Saturday, July 25, 2015

Pineapple Upside Down Cake

Semi-Fail

It was a very hot and humid day and I had no desire to spend any time at all outside. Since I had all of the ingredients on hand, I went searching the internet for a recipe for pineapple upside down cake. I found this one.

Old Fashioned Pineapple Upside Down Cake

INGREDIENTS:
4 eggs
1/2 cup butter
1 cup packed light brown sugar
1 (20 ounce) can sliced pineapple
10 maraschino cherries, halved
1 cup sifted cake flour
1 teaspoon baking powder
1/4 teaspoon salt
1 cup white sugar
1 tablespoon butter, melted
1 teaspoon almond extract
DIRECTIONS:
1. Preheat oven to 325 degrees F (165 degrees C).
2. In a 10-inch heavy skillet with a heat-resistant handle (I use a cast iron skillet),

 photo IMG_20150725_135339_196_zpsaatgfehy.jpg
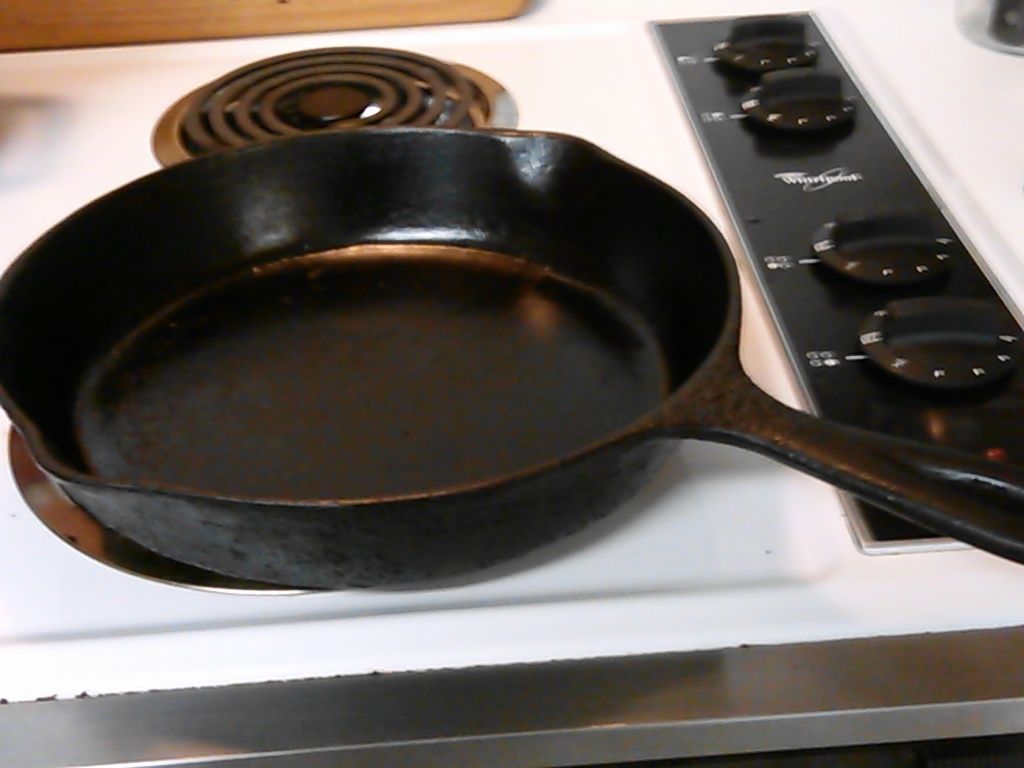
My grandmother's iron skillet.

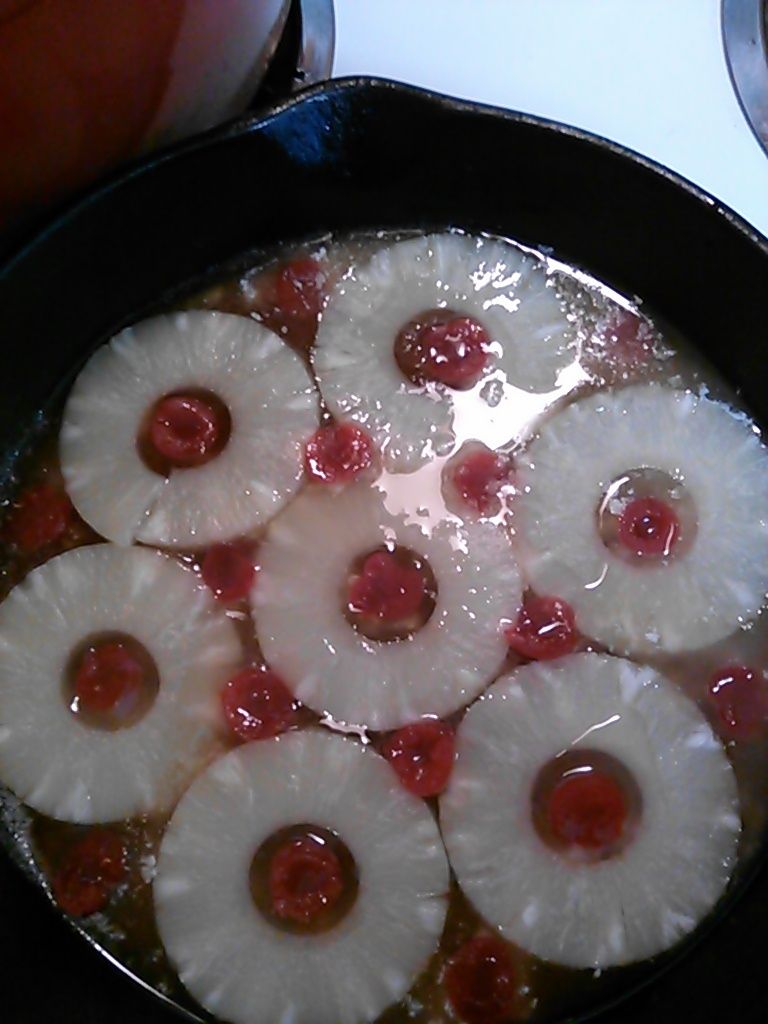
melt 1/2 cup butter over very low heat. Remove from heat, and sprinkle brown sugar evenly over pan. Arrange pineapple slices to cover bottom of skillet. Distribute cherries around pineapple; set aside.

 photo IMG_20150725_140924_593_zpsxhdlzcqo.jpg

3. Sift together flour, baking powder, and salt.
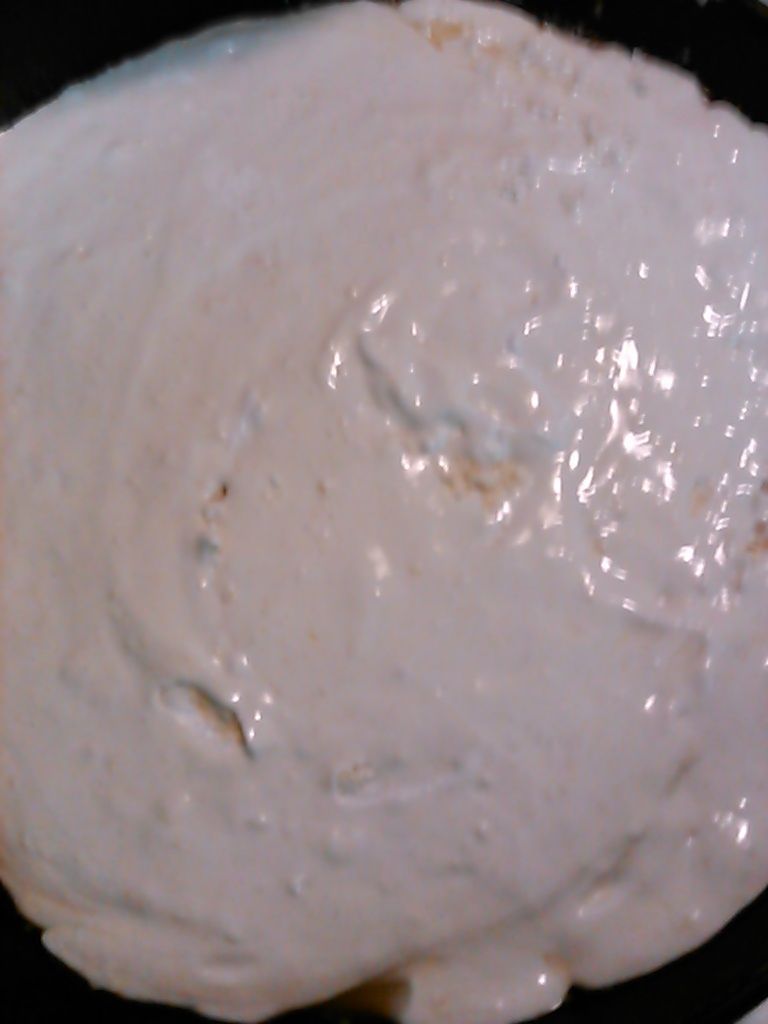
4. Separate the eggs into two bowls. In a large bowl, beat egg whites just until soft peaks form. Add granulated sugar gradually, beating well after each addition. Beat until medium-stiff peaks form. In a small bowl, beat egg yolks at high speed until very thick and yellow. With a wire whisk or rubber scraper, using an over-and-under motion, gently fold egg yolks and flour mixture into whites until blended. Fold in 1 tablespoon melted butter or margarine and almond extract. Spread batter evenly over pineapple in skillet.

 photo IMG_20150725_144047_909_zpsyj1aylvh.jpg

5. Bake until surface springs back when gently pressed with fingertip and a toothpick inserted in the center comes out clean, about 30 to 35 minutes. Loosen the edges of the cake with table knife. Cool the cake for 5 minutes before inverting onto cake plate.

 photo IMG_20150725_152839_812_zpsjmohvyav.jpg

I had trouble with the egg whites. It took forever to reach medium peaks and before I knew it, I had stiff peaks. I'm sure that had something to do with it. And I cannot, for the life of me, figure out where all of the cherries went! I have an old cookbook that belonged to my Aunt Mary that was published in 1948 and I checked the recipe in it. The sugar is added to the yolks in it, so I think that may have been the problem. On the bright side, the taste is yummy.

I think that I will try again, sometime, but use the recipe in Aunt Mary's cookbook. Maybe that will help.

Friday, July 17, 2015

The Best Laid Plans...

Or what I like to call "cooking ADD".

I did a mental run-down of the ingredients available to me while trying to decide what to cook for dinner...ground turkey, mixed veggies, onions, tomatoes, tomato paste...I decided to try my hand at hand pies. It sounded like fun and was something that I had never made before. I searched the internet for a good recipe and found a Martha Steward recipe that sounded pretty good.

But the thought of hand pies reminded me of my Aunt Alma's fried apple pies.

Aunt Alma had a learning disability (my best guess is that she was dyslexic) and could neither read nor write. There are no hand written copies of her recipes, but she was an amazing cook. And her fried apple pies were to die for. Aunt Alma and Uncle Fred would go to my Uncle Ed and Aunt Mary's farm and pick apples in the heat of summer. They would take them home, peel them, slice them, and lay them on newspapers on the shelf in the back of their 1963 Chevrolet Impala until they were perfectly dried. She would reconstitute the dried apples in a pot with a little water, lots of sugar and cinnamon, and finish it off with a little butter.

Uncle Ed is standing behind my grandmother in this photo, that is my dad holding me beside him, and Aunt Alma is the beauty in the white color. I love this picture because it has my grandmother with all of her living children.


She would make a dough much like a biscuit dough and fill them with the apple mixture. She fried them an iron skillet. They appeared at family reunions and disappeared quickly, but Aunt Alma always had a bundle for my dad and I stashed away.

I loved those pies.

I've tried over the years to duplicate them and have come close, but never fully succeeded. Possibly the fact that the apples weren't from Uncle Ed's farm. that they weren't hand dried, or the fact that I could only try to guess the proportions.

So, while preparing the dough for my hand pies I looked over and saw a bowl of peaches sitting on the counter.


So I decided to try fried peach pies.

The Filling:

2 c peeled and diced ripe peaches
1 c sugar
1 Tbs lemon juice
1/2 tsp cinnamon
3/4 c warm water
3 Tbs corn starch

Mix corn starch in water and set aside. Cook peaches, sugar, and lemon juice until sugar is melted. Add corn starch mixture and cinnamon and bring to a boil. Cook until thick and remove from heat. Allow to cool.

The pastry:

2 1/4 cup unbleached all-purpose flour
1/2 c cold butter cut into 1/2" dice
1 tsp kosher salt
1 large egg
1 1/2 tbsp white vinegar
1/2 c cold water

Mix together flour and salt. Using a pastry cutter, mix butter into flour mixture until it resembles coarse meal. Add egg to water and beat slightly. Add liquids to flour mixture and work with hands until it comes together. shape into a disc and wrap in plastic wrap. Place in fridge for a minimum of 1 hour. Roll between 1/8 and 1/4 inch thick and cut into 4" rounds. Place filling in the middle, fold over and seal with a fork along the edges. Refrigerate approx 20 minutes.

Heat approx 2" of oil (canola) to 350 degrees and fry pies two at a time. Place on paper towel lined plate.


I had lots of filling left because the pastry only made 4 pies.

I decide to make a cheesy macaroni for supper. I'll get around to making hand pies one day.

Thursday, July 2, 2015

Happy 4th of July!

Or Cookie Decorating Fail.

So in preparation of the holiday, I decided to try docking, flooding, and piping cookies. In my imagination they would be as elegant and beautiful as anything Martha Stewart ever produced. I started by making Ina Garten's shortbread cookies. That did not turn out as well as it should have.

Ingredients

3/4 pound unsalted butter, at room temperature
1 cup sugar, plus extra for sprinkling
1 teaspoon pure vanilla extract
3 1/2 cups all-purpose flour
1/4 teaspoon salt

Directions

Preheat the oven to 350 degrees F.

In the bowl of an electric mixer fitted with a paddle attachment, mix together the butter and 1 cup of sugar until they are just combined. Add the vanilla. In a medium bowl, sift together the flour and salt, then add them to the butter-and-sugar mixture. Mix on low speed until the dough starts to come together. Dump onto a surface dusted with flour and shape into a flat disk, about 1-inch thick. Wrap in plastic and chill for 30 minutes, until firm but still pliable.

Roll the dough 1/2-inch thick on a lightly floured surface and cut with a 3-by-1-inch finger-shaped cutter. Place the cookies on an ungreased baking sheet and sprinkle with sugar. Bake for 20 to 25 minutes, until the edges begin to brown. Allow to cool to room temperature.

You will note that the cooking time listed is 20-25 minutes. I set the timer for 20 minutes and pulled the cookies out early because they were too brown. The next batch went in for 18 minutes and then came out early be cause they were still a little too brown. Finally, I started checking at about 13 minutes and took them out of the oven at 16 minutes.

I made Julia Usher's recipe for Royal Icing found here. Mine was far thinner than hers and required adding more Confectioner's sugar. Also, it took a lot of gel color to get anywhere near the color I wanted.

The recipe for the Royal Icing

2 lbs Confectioner's Sugar (1 used about 1/2 cup more)
1/2 tsp cream of tartar
5 pasteurized egg whites
1/2 tsp almond extract
1/2 tsp vanilla extract

The next challenge was the parchment paper piping bags, found in this video. Blue and white were okay, but the red ran all over my hand.

Things I have learned....

You need a very steady hand.  photo IMG_20150702_133216_985_zpsavzkmmrg.jpg

I do not have a very steady hand.

Flooding is easy, piping is not.

 photo IMG_20150702_154958_927_zps1huzpszf.jpg

 photo IMG_20150702_154945_956_zps9nwcqhx9.jpg

My very ugly, yet quite tasty, 4th of July cookies. Martha Stewart...your career is safe. For now.