Saturday, July 25, 2015

Pineapple Upside Down Cake

Semi-Fail

It was a very hot and humid day and I had no desire to spend any time at all outside. Since I had all of the ingredients on hand, I went searching the internet for a recipe for pineapple upside down cake. I found this one.

Old Fashioned Pineapple Upside Down Cake

INGREDIENTS:
4 eggs
1/2 cup butter
1 cup packed light brown sugar
1 (20 ounce) can sliced pineapple
10 maraschino cherries, halved
1 cup sifted cake flour
1 teaspoon baking powder
1/4 teaspoon salt
1 cup white sugar
1 tablespoon butter, melted
1 teaspoon almond extract
DIRECTIONS:
1. Preheat oven to 325 degrees F (165 degrees C).
2. In a 10-inch heavy skillet with a heat-resistant handle (I use a cast iron skillet),
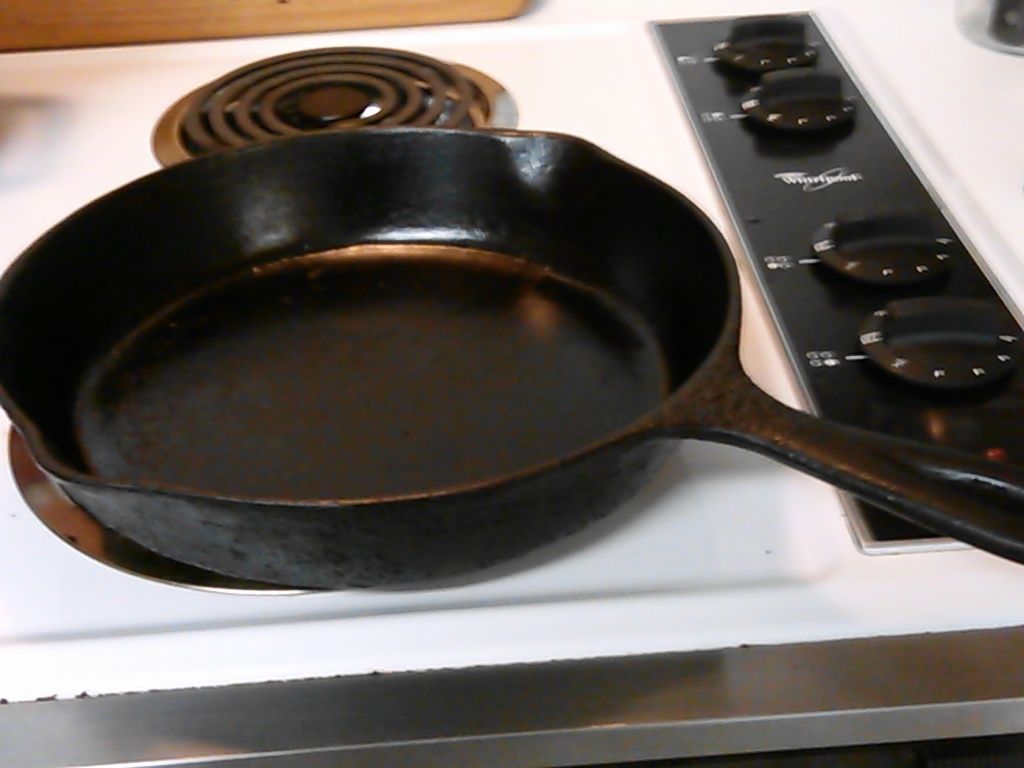
 photo IMG_20150725_135339_196_zpsaatgfehy.jpg
My grandmother's iron skillet.

melt 1/2 cup butter over very low heat. Remove from heat, and sprinkle brown sugar evenly over pan. Arrange pineapple slices to cover bottom of skillet. Distribute cherries around pineapple; set aside.
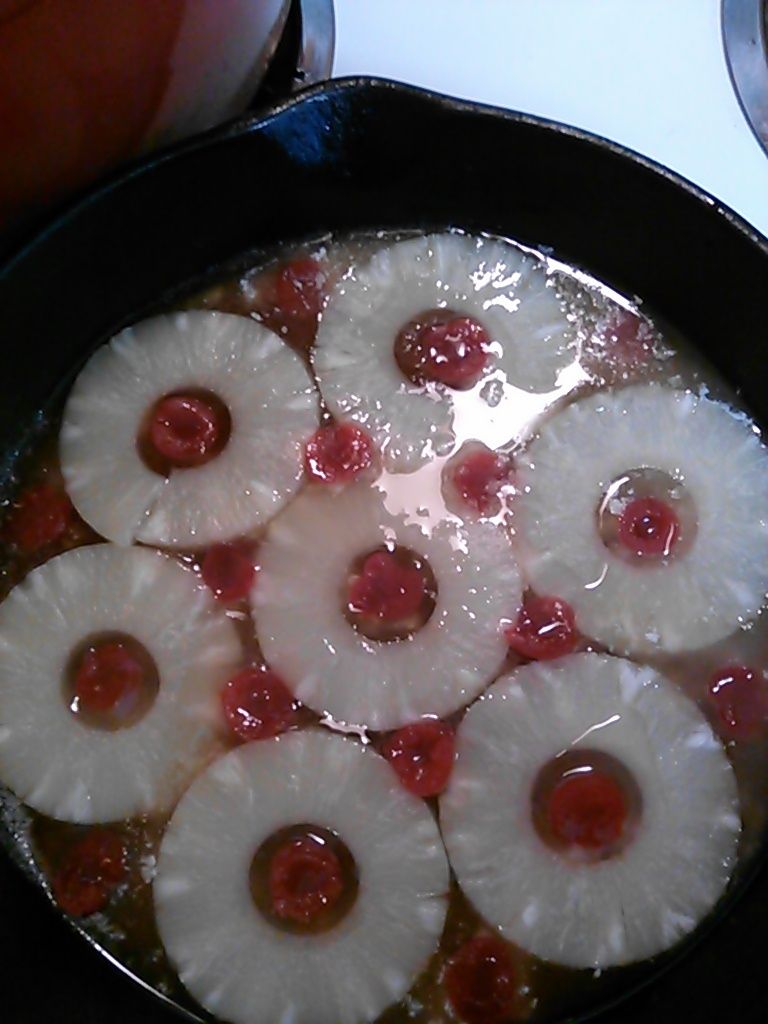
 photo IMG_20150725_140924_593_zpsxhdlzcqo.jpg

3. Sift together flour, baking powder, and salt.
4. Separate the eggs into two bowls. In a large bowl, beat egg whites just until soft peaks form. Add granulated sugar gradually, beating well after each addition. Beat until medium-stiff peaks form. In a small bowl, beat egg yolks at high speed until very thick and yellow. With a wire whisk or rubber scraper, using an over-and-under motion, gently fold egg yolks and flour mixture into whites until blended. Fold in 1 tablespoon melted butter or margarine and almond extract. Spread batter evenly over pineapple in skillet.
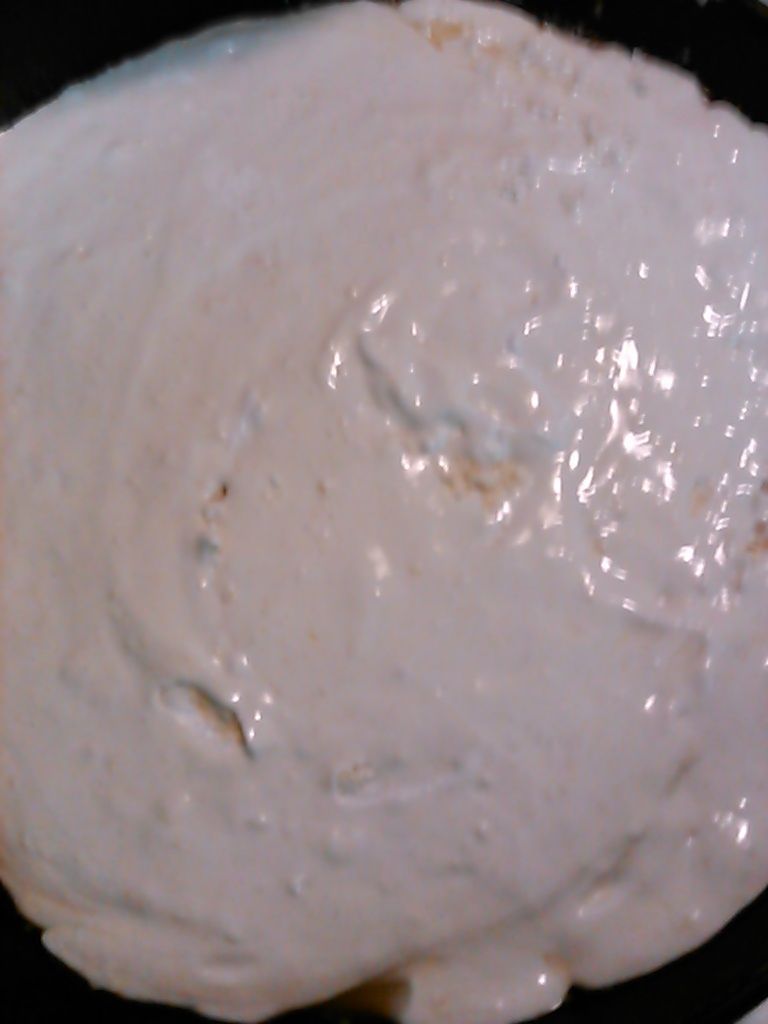
 photo IMG_20150725_144047_909_zpsyj1aylvh.jpg

5. Bake until surface springs back when gently pressed with fingertip and a toothpick inserted in the center comes out clean, about 30 to 35 minutes. Loosen the edges of the cake with table knife. Cool the cake for 5 minutes before inverting onto cake plate.
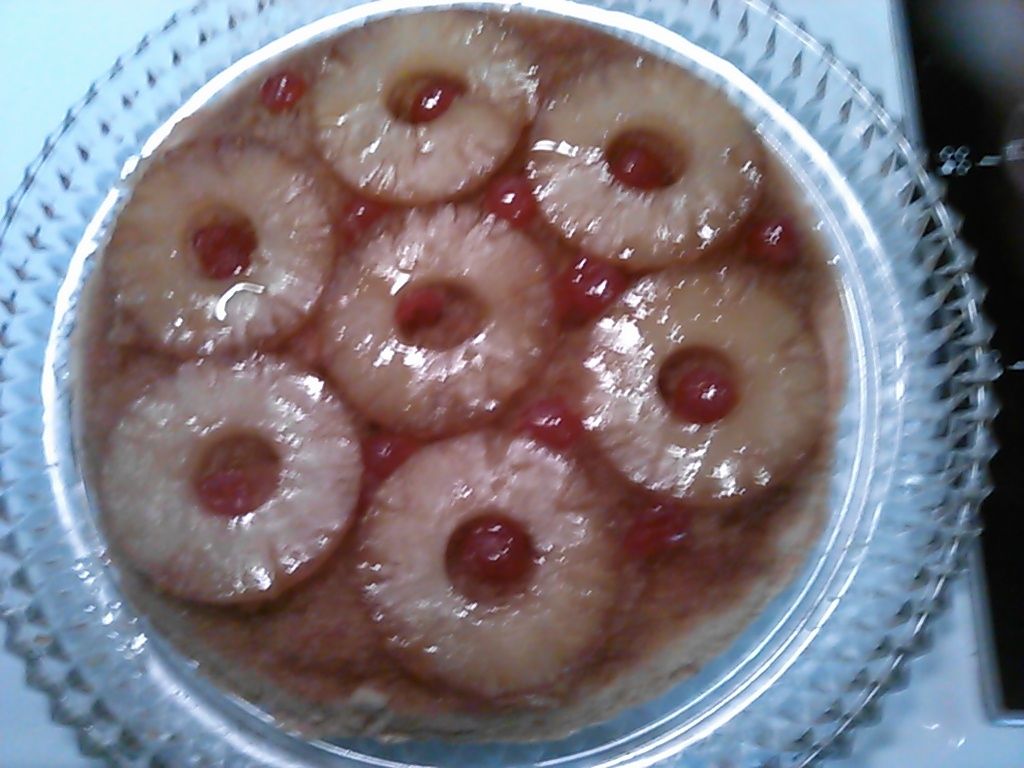
 photo IMG_20150725_152839_812_zpsjmohvyav.jpg

I had trouble with the egg whites. It took forever to reach medium peaks and before I knew it, I had stiff peaks. I'm sure that had something to do with it. And I cannot, for the life of me, figure out where all of the cherries went! I have an old cookbook that belonged to my Aunt Mary that was published in 1948 and I checked the recipe in it. The sugar is added to the yolks in it, so I think that may have been the problem. On the bright side, the taste is yummy.

I think that I will try again, sometime, but use the recipe in Aunt Mary's cookbook. Maybe that will help.

Friday, July 17, 2015

The Best Laid Plans...

Or what I like to call "cooking ADD".

I did a mental run-down of the ingredients available to me while trying to decide what to cook for dinner...ground turkey, mixed veggies, onions, tomatoes, tomato paste...I decided to try my hand at hand pies. It sounded like fun and was something that I had never made before. I searched the internet for a good recipe and found a Martha Steward recipe that sounded pretty good.

But the thought of hand pies reminded me of my Aunt Alma's fried apple pies.

Aunt Alma had a learning disability (my best guess is that she was dyslexic) and could neither read nor write. There are no hand written copies of her recipes, but she was an amazing cook. And her fried apple pies were to die for. Aunt Alma and Uncle Fred would go to my Uncle Ed and Aunt Mary's farm and pick apples in the heat of summer. They would take them home, peel them, slice them, and lay them on newspapers on the shelf in the back of their 1963 Chevrolet Impala until they were perfectly dried. She would reconstitute the dried apples in a pot with a little water, lots of sugar and cinnamon, and finish it off with a little butter.

Uncle Ed is standing behind my grandmother in this photo, that is my dad holding me beside him, and Aunt Alma is the beauty in the white color. I love this picture because it has my grandmother with all of her living children.


She would make a dough much like a biscuit dough and fill them with the apple mixture. She fried them an iron skillet. They appeared at family reunions and disappeared quickly, but Aunt Alma always had a bundle for my dad and I stashed away.

I loved those pies.

I've tried over the years to duplicate them and have come close, but never fully succeeded. Possibly the fact that the apples weren't from Uncle Ed's farm. that they weren't hand dried, or the fact that I could only try to guess the proportions.

So, while preparing the dough for my hand pies I looked over and saw a bowl of peaches sitting on the counter.


So I decided to try fried peach pies.

The Filling:

2 c peeled and diced ripe peaches
1 c sugar
1 Tbs lemon juice
1/2 tsp cinnamon
3/4 c warm water
3 Tbs corn starch

Mix corn starch in water and set aside. Cook peaches, sugar, and lemon juice until sugar is melted. Add corn starch mixture and cinnamon and bring to a boil. Cook until thick and remove from heat. Allow to cool.

The pastry:

2 1/4 cup unbleached all-purpose flour
1/2 c cold butter cut into 1/2" dice
1 tsp kosher salt
1 large egg
1 1/2 tbsp white vinegar
1/2 c cold water

Mix together flour and salt. Using a pastry cutter, mix butter into flour mixture until it resembles coarse meal. Add egg to water and beat slightly. Add liquids to flour mixture and work with hands until it comes together. shape into a disc and wrap in plastic wrap. Place in fridge for a minimum of 1 hour. Roll between 1/8 and 1/4 inch thick and cut into 4" rounds. Place filling in the middle, fold over and seal with a fork along the edges. Refrigerate approx 20 minutes.

Heat approx 2" of oil (canola) to 350 degrees and fry pies two at a time. Place on paper towel lined plate.


I had lots of filling left because the pastry only made 4 pies.

I decide to make a cheesy macaroni for supper. I'll get around to making hand pies one day.

Thursday, July 2, 2015

Happy 4th of July!

Or Cookie Decorating Fail.

So in preparation of the holiday, I decided to try docking, flooding, and piping cookies. In my imagination they would be as elegant and beautiful as anything Martha Stewart ever produced. I started by making Ina Garten's shortbread cookies. That did not turn out as well as it should have.

Ingredients

3/4 pound unsalted butter, at room temperature
1 cup sugar, plus extra for sprinkling
1 teaspoon pure vanilla extract
3 1/2 cups all-purpose flour
1/4 teaspoon salt

Directions

Preheat the oven to 350 degrees F.

In the bowl of an electric mixer fitted with a paddle attachment, mix together the butter and 1 cup of sugar until they are just combined. Add the vanilla. In a medium bowl, sift together the flour and salt, then add them to the butter-and-sugar mixture. Mix on low speed until the dough starts to come together. Dump onto a surface dusted with flour and shape into a flat disk, about 1-inch thick. Wrap in plastic and chill for 30 minutes, until firm but still pliable.

Roll the dough 1/2-inch thick on a lightly floured surface and cut with a 3-by-1-inch finger-shaped cutter. Place the cookies on an ungreased baking sheet and sprinkle with sugar. Bake for 20 to 25 minutes, until the edges begin to brown. Allow to cool to room temperature.

You will note that the cooking time listed is 20-25 minutes. I set the timer for 20 minutes and pulled the cookies out early because they were too brown. The next batch went in for 18 minutes and then came out early be cause they were still a little too brown. Finally, I started checking at about 13 minutes and took them out of the oven at 16 minutes.

I made Julia Usher's recipe for Royal Icing found here. Mine was far thinner than hers and required adding more Confectioner's sugar. Also, it took a lot of gel color to get anywhere near the color I wanted.

The recipe for the Royal Icing

2 lbs Confectioner's Sugar (1 used about 1/2 cup more)
1/2 tsp cream of tartar
5 pasteurized egg whites
1/2 tsp almond extract
1/2 tsp vanilla extract

The next challenge was the parchment paper piping bags, found in this video. Blue and white were okay, but the red ran all over my hand.

Things I have learned....

You need a very steady hand.  photo IMG_20150702_133216_985_zpsavzkmmrg.jpg

I do not have a very steady hand.

Flooding is easy, piping is not.

 photo IMG_20150702_154958_927_zps1huzpszf.jpg

 photo IMG_20150702_154945_956_zps9nwcqhx9.jpg

My very ugly, yet quite tasty, 4th of July cookies. Martha Stewart...your career is safe. For now.

Thursday, June 18, 2015

Chicken Burgers


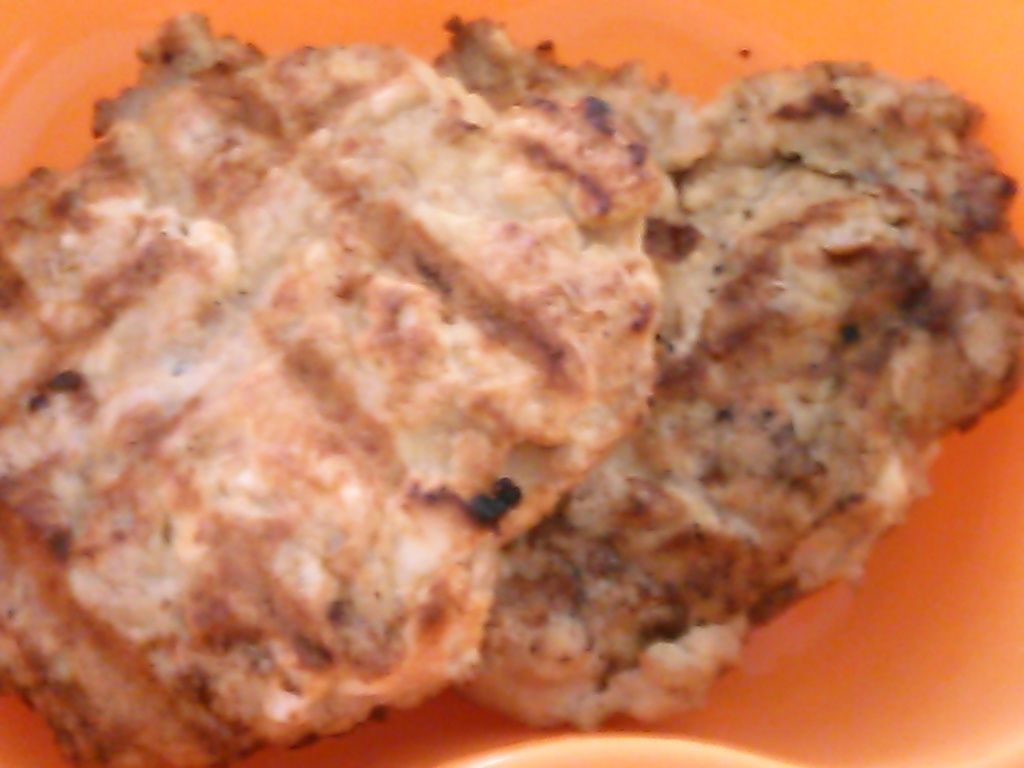
I picked up a pound of ground chicken and debated on what to do with it. I know it works well with sloppy joes, in chili, and in spaghetti sauce. But, I wanted something different. I made chicken burgers and this is how it broke down.

chicken burgers photo IMG_20150618_133022_363_zpsevntvsr8.jpg">

1 lb ground chicken
2 tbs grated onion
1 large egg
10 saltine crackers
1/4 tsp Penzeys Forward seasoning
1/4 tsp seasoned salt

Gently mix together. This is a very loose and wet mix. Roll into 4 equal sized balls and press each ball between two pieces of wax paper, making sure to indent the center. Place in the freezer for up to 30 minutes to help firm. Generously brush grill or grill pan with vegetable oil and cook on medium high heat.

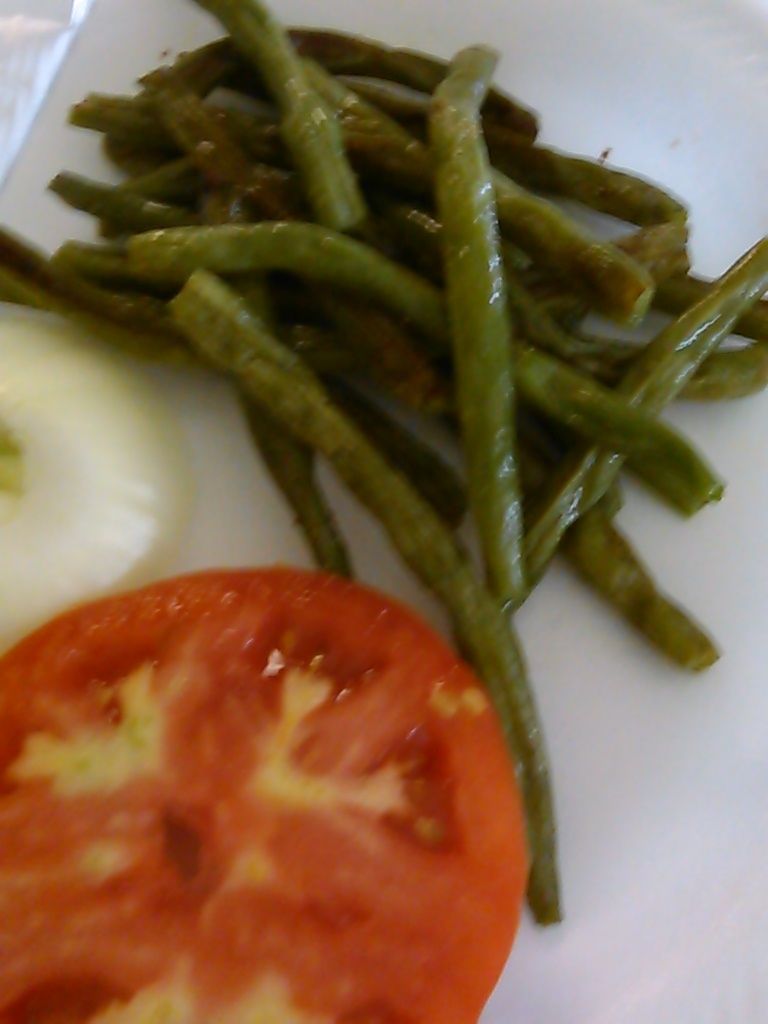
I had these on a whole wheat bun with mustard, pickles, lettuce, tomato, onion and catsup and served with green bean "fries". Made a yummy meal.

green bean fries photo IMG_20150618_133247_350_zps6mj1egbu.jpg">

Green Bean Fries

1 lb green beans
1 tbs EVOO
1/2 tsp garlic powder
Salt to taste

Wash and trim beans. Dry with paper towels. Line a baking sheet with aluminum foil. Toss beans with oil and sprinkle with seasoning on baking sheet. Place in 400 degree pre-heated oven. Cook 20-30 minutes until beans are slightly caramelized.

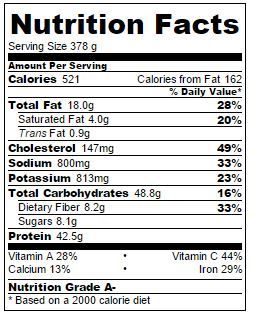
This is the nutritional break down, including the condiments and buns.


 photo chickenburger_zps0vqjsa23.jpg">

Not so bad, huh?

Tuesday, June 9, 2015

Diet Food

I'm trying to lose weight, so I have been lax about posting. The things I long to make are not diet friendly. But when trying to come up with different things to eat, I was at a loss. Diet food can be boring and bland. A lot of salad and baked meat. Not that I mind salad, in fact, I love it. I eat it at least three times a week.

I had a can of salmon in the pantry and went looking for recipes for it. And I found this one at
SPANISH SALMON BAKE

 photo IMG_20150609_175648_799_zpsnrylztu3.jpg

Prep Time: 15 Minutes
Cook Time: 30 Minutes

1 can (14.75 oz.) or 2 cans (7.5 oz. each) traditional pack Alaska Salmon OR 2 cans or pouches (6 to 7.1 oz. each) skinless, boneless salmon
3 Tablespoons vegetable oil
1/2 cup diced yellow onion
¼ cup diced red bell pepper
2 cloves fresh minced garlic
1 can (2.5 oz.) sliced black olives, drained
1 cup frozen diced potatoes
½ cup diced tomato
8 large eggs, beaten well
1 teaspoon dried oregano
2 Tablespoons fresh chopped cilantro
1 teaspoon salt
¼ teaspoon pepper
1 cup white cheese, shredded or crumbled

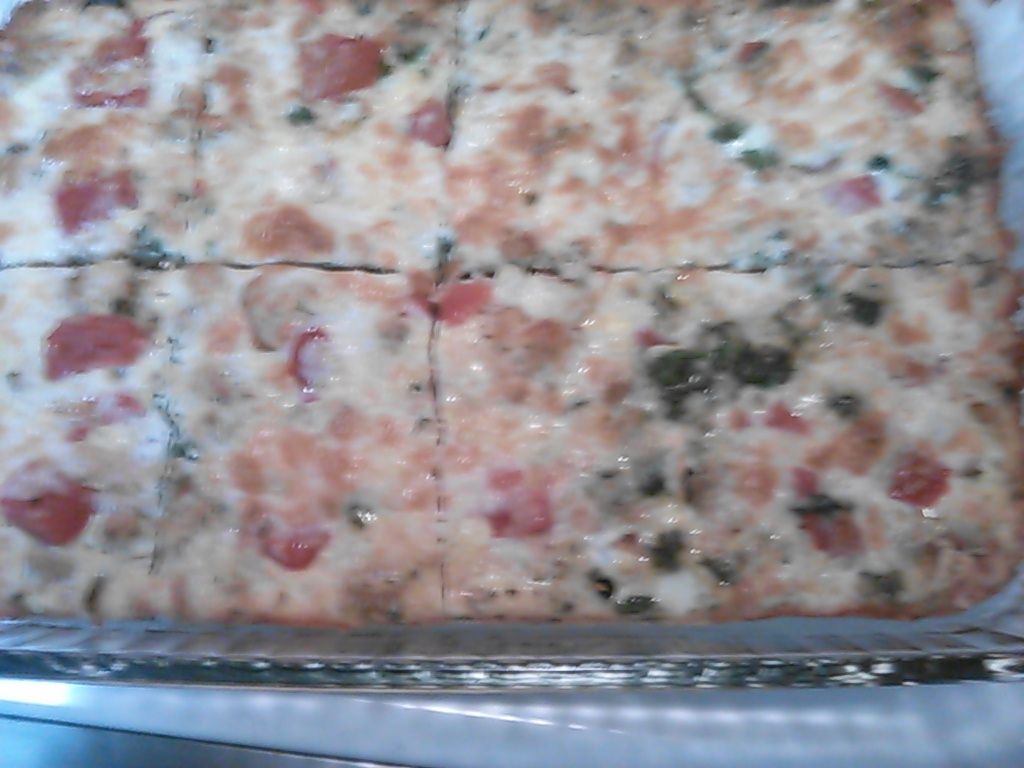
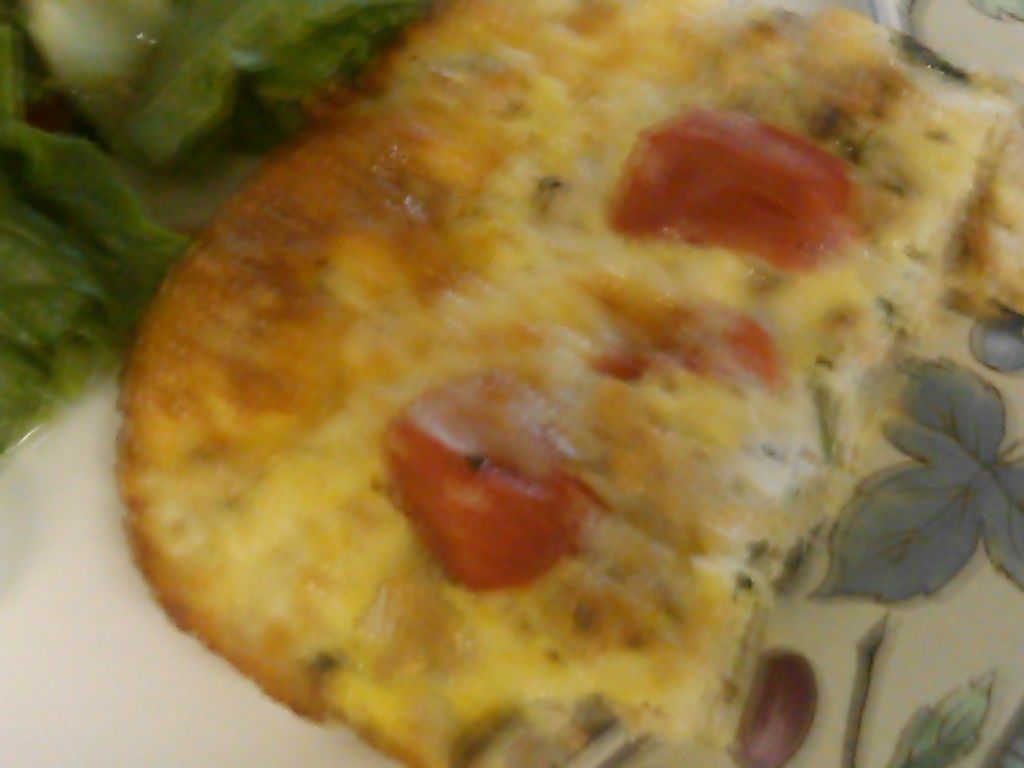
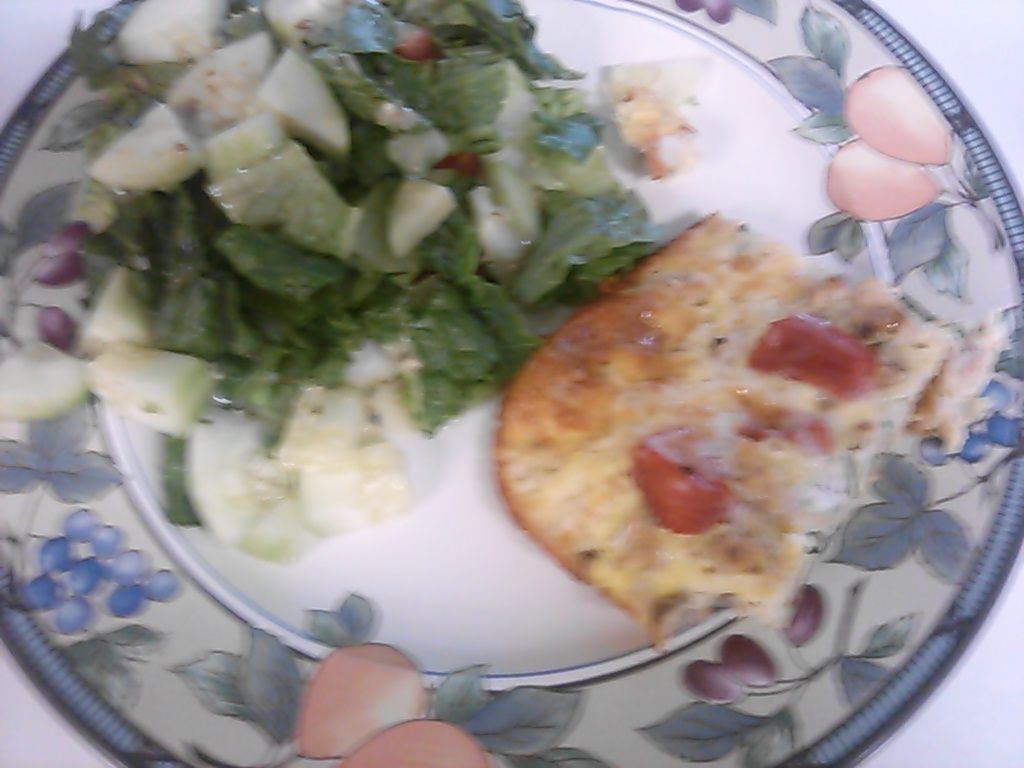
Preheat oven to 400°F. Drain and flake salmon. Heat oil in frying pan over medium heat. Stir in onion, bell pepper, garlic, olives and potatoes. Cook 3 to 5 minutes, until garlic is brown and potatoes are slightly cooked. Remove from heat; evenly spoon potato mixture into spray-coated 9x13-inch baking dish. Sprinkle on salmon and tomatoes. Blend eggs, oregano, cilantro, salt and pepper; pour over salmon. Bake 10 minutes; sprinkle on cheese. Continue baking 10 to 15 minutes, until cooked through.


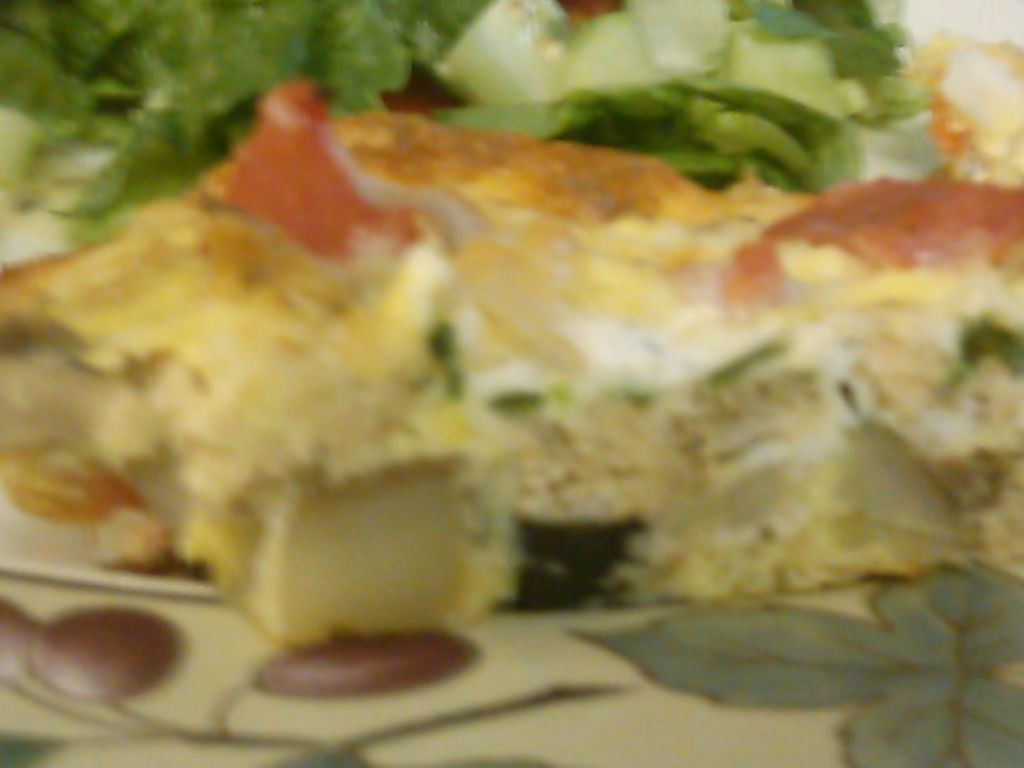
My favorite use of canned salmon is croquettes, but they are just not diet friendly, and this is. Plus, it is hearty and delicious. Though, I was a bit doubtful while it was cooking. It was a bit pungent.

 photo IMG_20150609_175758_953_zpszph5veru.jpg

I did not use frozen potatoes, but instead diced red potatoes and boiled them to soften them. I used Monteray Jack cheese.

And of course, I ate it with the mandatory salad.
 photo IMG_20150609_175746_662_zpsdiyn4w9v.jpg

Ready for the close-up?

 photo IMG_20150609_175808_197_zpslbuud5dl.jpg

The best part of this? THIS!

Makes 6 to 8 Servings.

Nutrients per serving: 302 calories, 19g total fat, 5g saturated fat, 57% calories from fat, 284mg cholesterol, 24g protein, 9g carbohydrate, 1g fiber, 928mg sodium, 284mg calcium and 1.1g omega-3 fatty acids.

Potatoes, olives, eggs, cheese and only 302 calories per serving. YUM!


Friday, May 22, 2015

Crepes!

When I was in my late teens and early twenties there was a crepe restaurant in my town called The Magic Pan. It was elegant. It was classy. It was impressive. I only ate there a couple of times, but I still remember it. I remember that I felt grown-up and sophisticated while there.

About that same time, I was working for a local department store and asked to test a product--a crepe maker. I was so excited! I could hardly wait. It was, as I recall, a convex, Teflon coated disk attached to something similar to a hot plate. Imagine a pin cushion the size of a salad plate weighing about five pounds with an electrical cord undulating from one side. The trial did not go well. It made a huge mess all over the counter and was very difficult to clean because you could not get the base wet.

I never again tried to make crepes and do not think that I have eaten them since. Until today.

I got a recipe from a member of an online community to which I belong, which was certainly very basic. I also consulted an Alton Brown recipe and a couple of others because the cooking instructions were so vague. I wound up working on a trial and error basis when it came to the cooking temperature. But all and all, they were easy. Why would anyone think that an appliance would be better than a simple pan and stove? And seriously, who has the storage for such things?

I used my 8" Calphalon non-stick skillet. No fancy pans or appliances.

I was told to plan on throwing away the first one and that was the case.
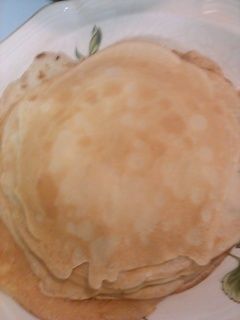
1 crepe photo IMG_20150522_130313_092_zpsrz2qm9uo.jpg

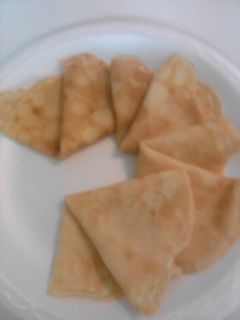
But, the rest came out perfect!

3 crepe photo IMG_20150522_132759_400_zps4sfjuduf.jpg

4 crepe photo IMG_20150522_132503_374_zpsm6tty0cl.jpg

5 crepe photo IMG_20150522_133234_562_zps5dizwfru.jpg

6 crepe photo IMG_20150522_133619_122_zpsnhjajrbs.jpg

Basic Crepes

1 cup all purpose flour
2 tsp sugar
1/4 tsp salt
1 cup milk*
1/2 cup water
2 tsp melted butter
2 large eggs

Whisk together flour, sugar, and salt. In a separate bowl, whisk milk, water, eggs, and butter to combine. Add to flour mixture and stir well. (You can use a blender for this, but mine is on the fritz.) Cover and refrigerate for 1 hour.

Here is where the trial and error came in...

Alton Brown says to butter the pan. Since there were no cooking instructions with the recipe, I tried this. Don't. Heat the pan on medium heat and pour 2 tablespoons of the batter into the pan. Swirl it around to fill the pan. Cook for approx 30 seconds and flip. Cook another 10 to 15 seconds. Slide crepe out of pan and onto a flat surface. Repeat.

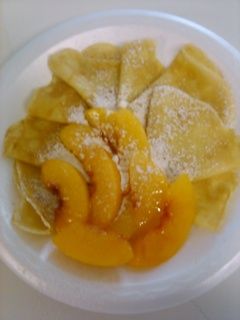
This recipe makes 16 (not including 1st and last) and each crepe is 41 calories. I served these with sliced peaches and dusted with confectioner's sugar. Alton Brown's basic recipe did not include sugar, but adds sugar for sweet crepes. For savory crepes, he suggests adding fresh herbs, sun-dried tomatoes, or spinach. Herbs sound yummy, don't they?

I laid these flat on baking sheets and froze them before placing them in storage bags and tossing them back in the freezer for another day. I may try some Crepes Suzette one day, because I love to set food afire.

*I used whole milk, but probably 2% would be okay.

Thursday, May 7, 2015

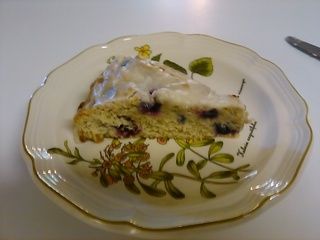
Blueberry Scones

My alarm went off at 4:15 a.m. so that I could drive my dad and three of his friends across town to catch a bus at 6 a.m. I got home a little before 7 and felt the need to bake. What? Don't you feel like baking when you could and/or should be sleeping?

Because I had a very large bag of blueberries in the freezer, I used my good friend Google to find a recipe from Sallysbakingaddiction.comm.

I have made scones before, but they always seemed very dry and almost flavorless to me. These were light and moist, and extremely easy to make.

Blueberry Scones

2 cups (250g) all-purpose flour (careful not to overmeasure)
1/2 cup (100g) granulated sugar
2 and 1/2 teaspoons baking powder
1/2 teaspoon ground cinnamon
1/2 teaspoon salt
1/2 cup (115g) unsalted butter, frozen
1/2 cup (120ml) heavy cream
1 large egg
1 teaspoon vanilla extract
1 heaping cup (190g) blueberries (fresh or frozen, do not thaw)
coarse sugar for sprinkling on top before baking
GLAZE
1 cup (120g) confectioners' sugar
3 Tablespoons (45ml) heavy cream (or half-and-half or milk)
1/4 teaspoon vanilla extract
Directions:
Preheat oven to 400F degrees. Adjust baking rack to the middle-low position. Line a large baking sheet with parchment paper or a silicone baking mat. Set aside.
In a large bowl, whisk the flour, sugar, baking powder, cinnamon, and salt. Grate the frozen butter (I used a box grater; a food processor also works - here is the one I own and love). Toss the grated butter into the flour mixture and combine it with a pastry cutter, your fingers, or two knives until the mixture resembles coarse meal. Set aside.
In a small bowl, whisk the cream, egg, and vanilla together. Drizzle it over the flour mixture and then toss the mixture together with a rubber spatula until everything appears moistened. Slowly and gently fold in the blueberries. Try your best to not overwork the dough at any point. Dough will be a little wet. Work the dough into a ball with floured hands as best you can and transfer to the prepared baking pan. Press into a neat 8″ disc and cut into 8 equal wedges with a very sharp knife. Top with a sprinkle of coarse sugar.
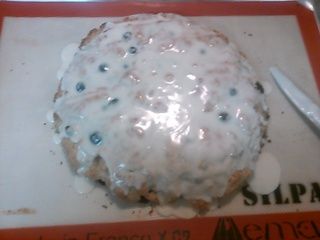
Bake for 20-25 minutes or until lightly golden and cooked through. Remove from the oven and allow to cool for a few minutes. To make the glaze, simply whisk all of the glaze ingredients together and drizzle lightly over scones right before serving. Scones are best enjoyed right away, though leftover scones keep well at room temperature for 2 extra days. Scones freeze well, up to 3 months.

 photo IMG_20150506_085942_179_zpslc4k4567.jpg

 photo IMG_20150507_074014_599_zps0cr77cvj.jpg

Incredibly tasty, these are perfect with a cup of tea or coffee for breakfast or a snack. This recipe is a keeper! Especially since I have lots of blueberries left after having made muffins, pound cake, cobbler, etc.

 photo IMG_20150507_101907_163_zpsmmzvkwxz.jpg